Home - JMBricklayer - JMBricklayer 50001 Review by angelofdeathwhv

Review – JMBricklayer 50001 – Vintage Car – angelofdeathwhv

In this article, our friend β€œangelofdeathwhv” will review the JMBricklayer 50001 Vintage Car building block set.

She praises its intricate design and appeal to classic car fans. With over 1,000 pieces, the build is challenging yet rewarding, resulting in a sturdy, detailed model. The standout feature is the integrated lighting, adding an elegant touch that enhances its display. From realistic interior details to carefully crafted fenders and headlights, each step brings the model to life. For the best results, she recommends building it patiently, especially when setting up the lighting. This is more than just a modelβ€”it’s a collector’s piece.

How does that sound? Let’s not waste any timeβ€”let’s get started right away!

Estimated reading time: 11 minutes

JMBricklayer 50001 – Vintage Car

angelofdeathwhv


The JMBricklayer Vintage Car Model a deluxe Coupe Oldtimer 50001 is a true eye-catcher for classic car model enthusiasts. 

The set contains over 1,000 meticulously designed building blocks, capturing the retro charm of the vintage car perfectly. The building process is challenging but incredibly rewarding, especially for experienced builders. 

A standout feature is the integrated lighting kit, which adds an extra touch of elegance to the model. The final result looks fantastic, whether displayed on a shelf or a desk. If you love vintage and model building, this set will not disappoint!

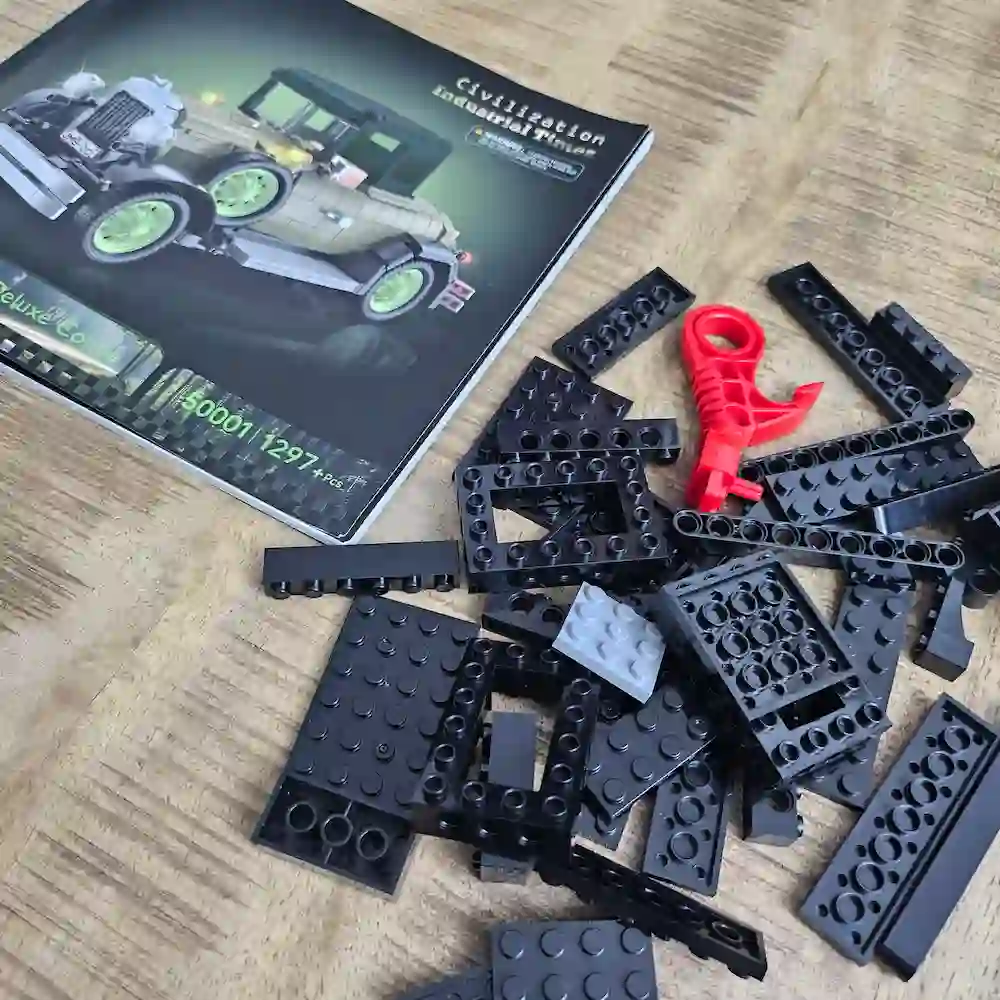
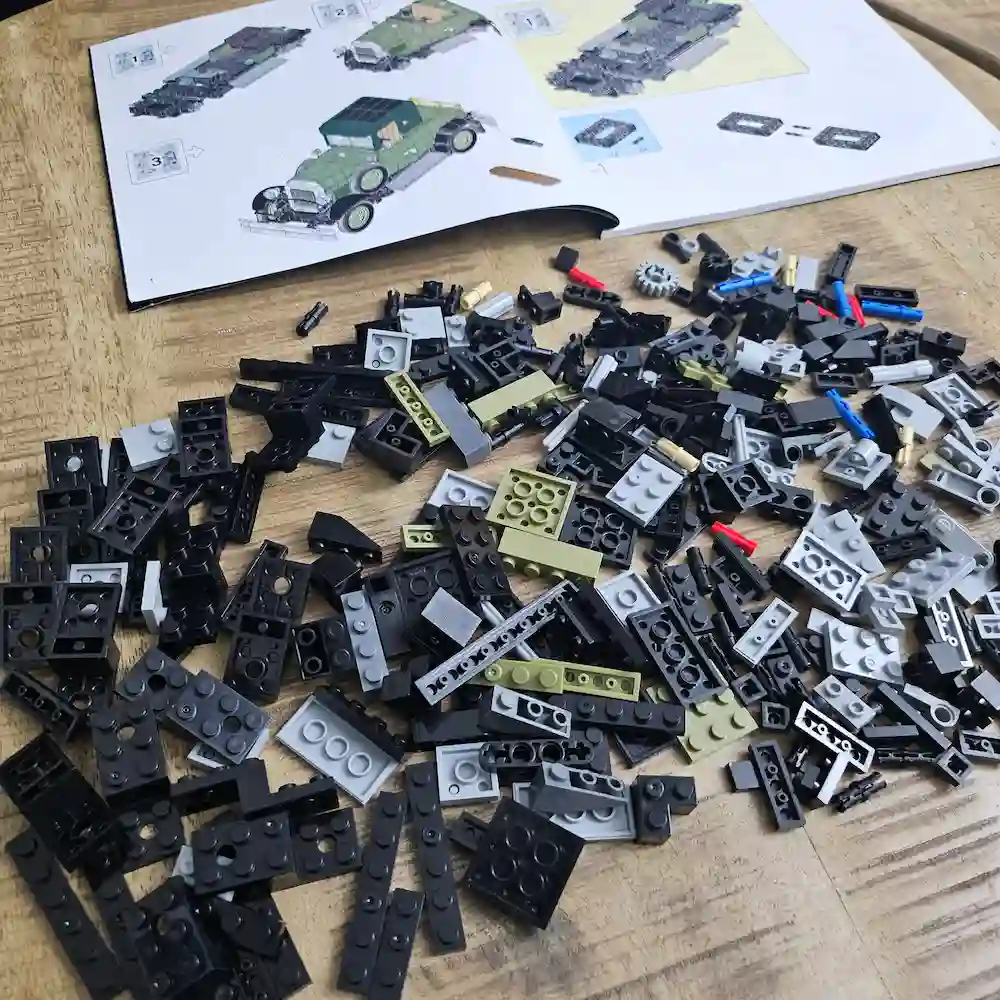
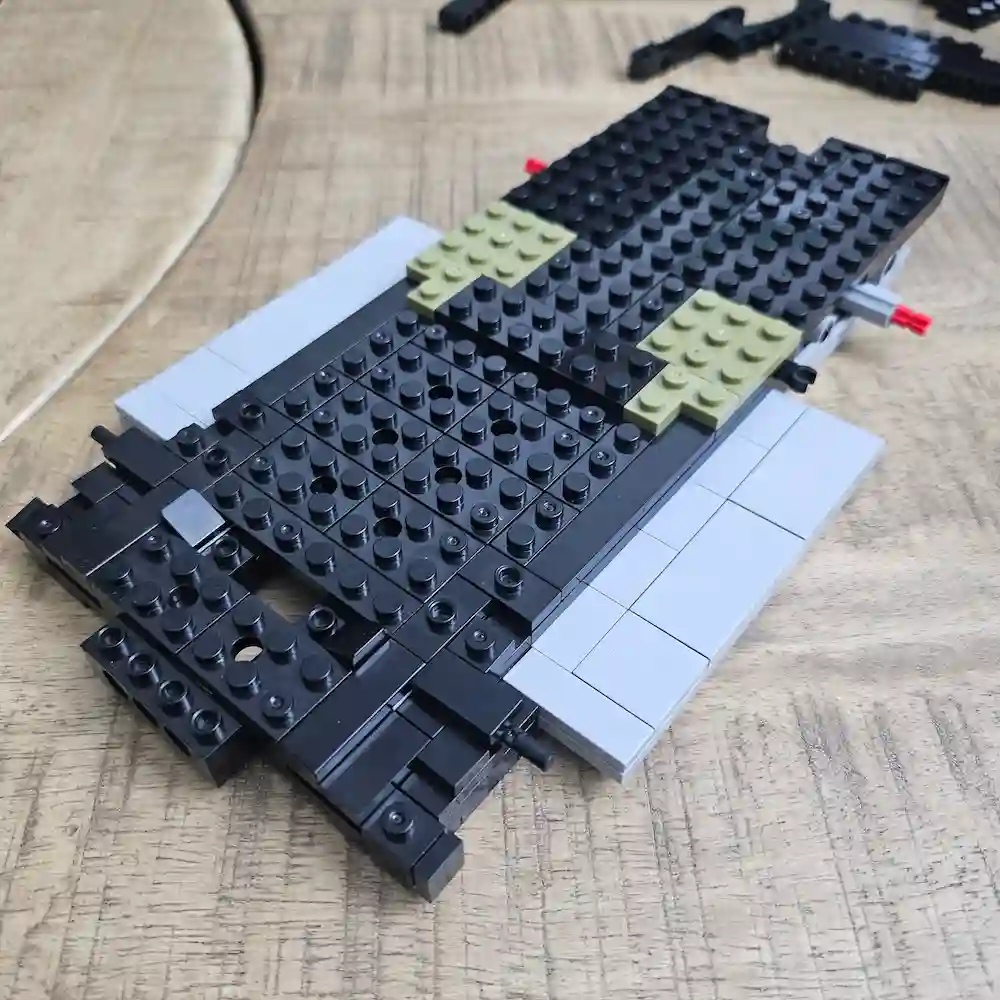
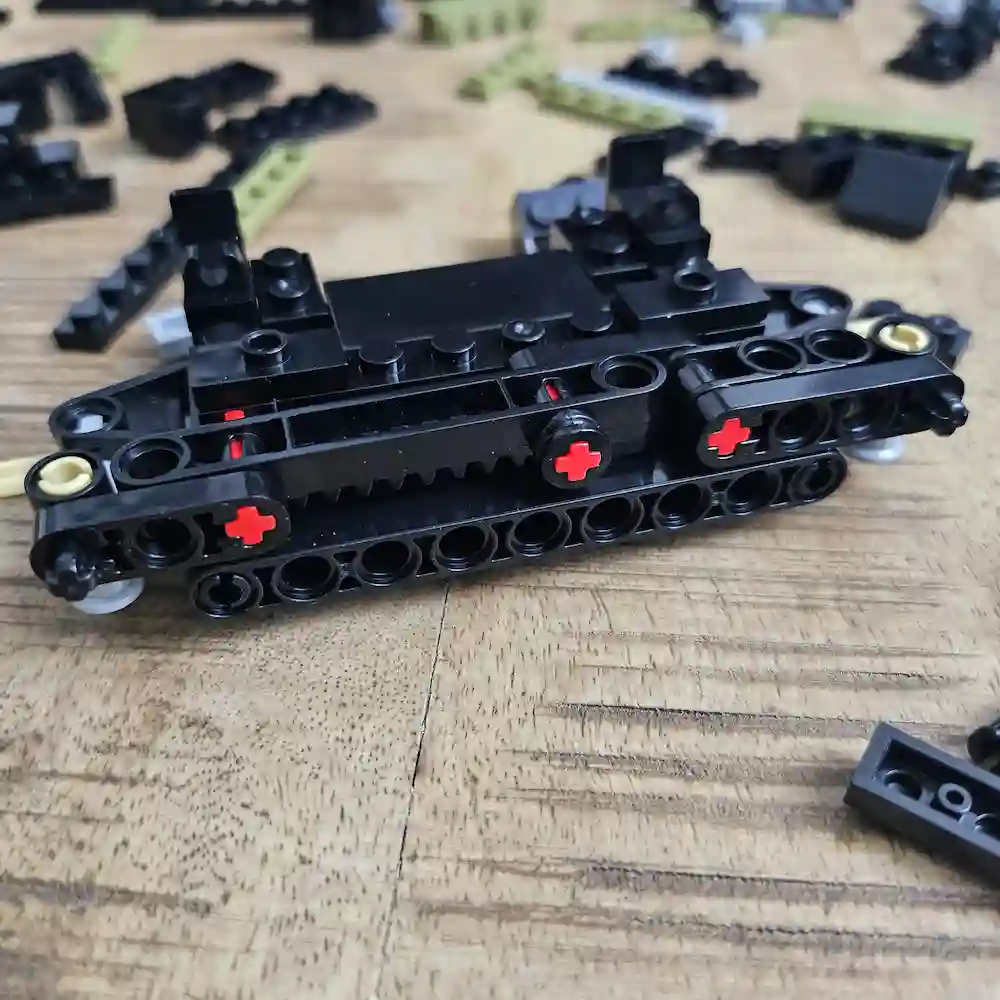
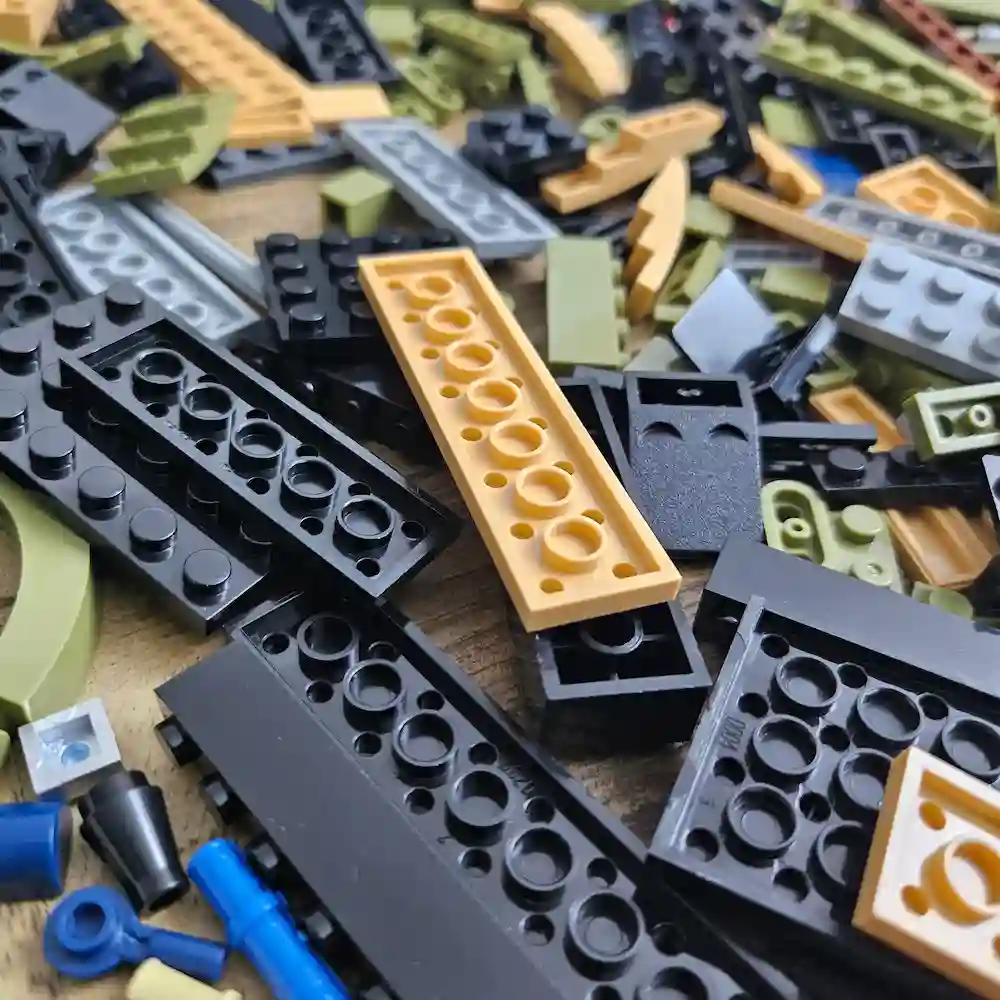
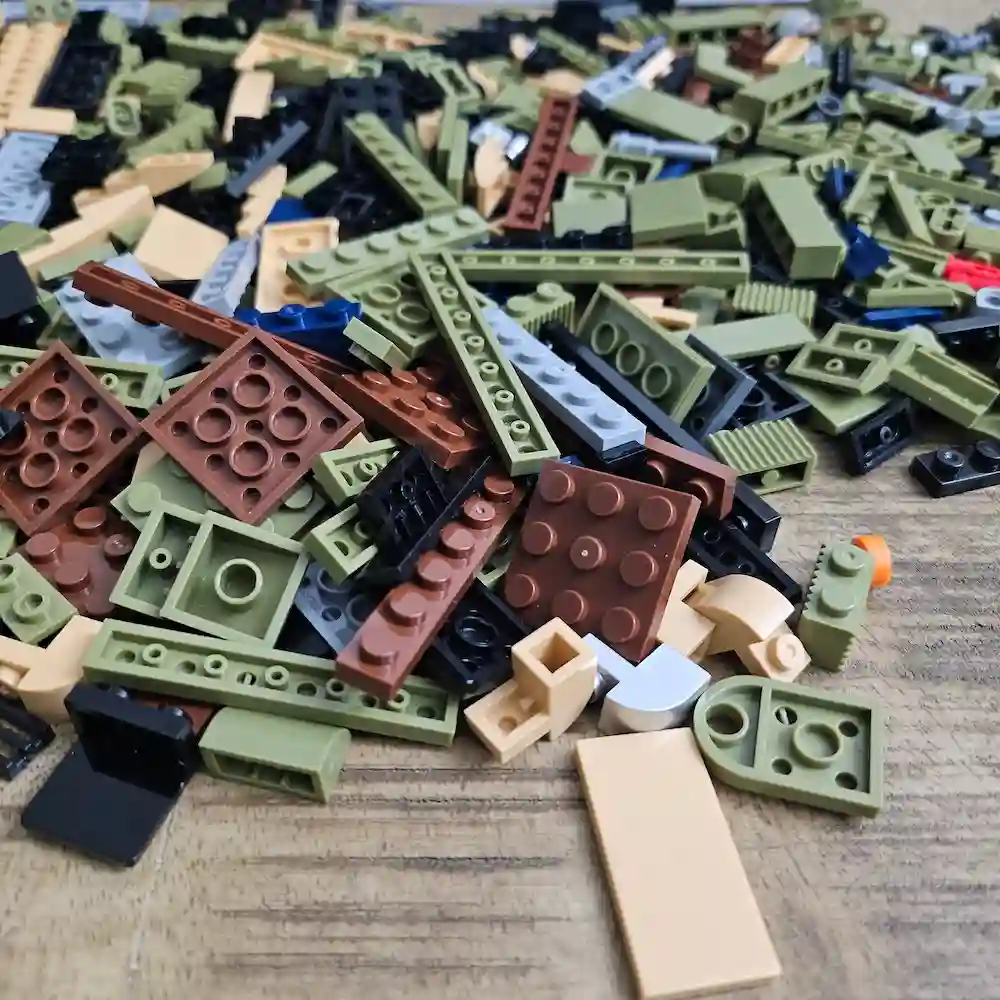
The assembly of the vintage car starts with a well-organized parts list. The building blocks are high-quality and fit together very well. Even after the first few steps, you can already feel how sturdy the model will be. It’s exciting to lay the foundation for what will later be a stunning car.

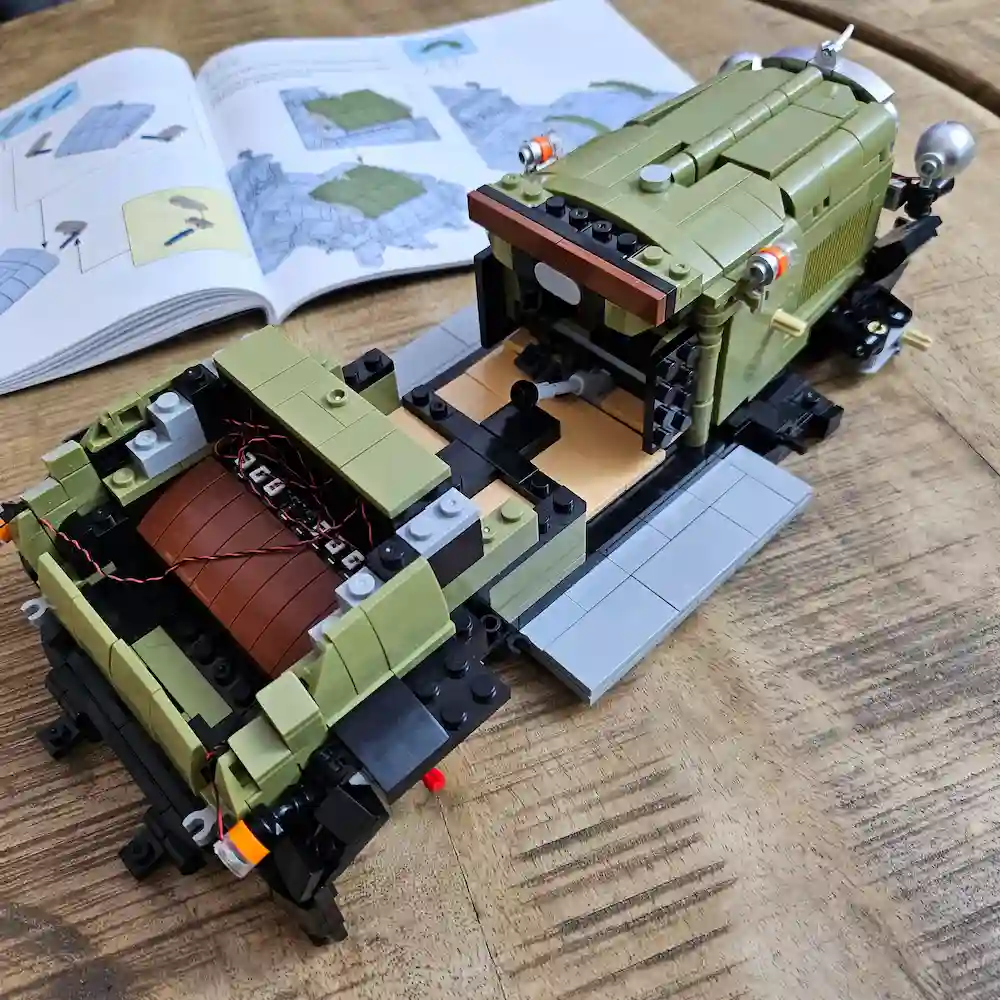
Building From Scratch
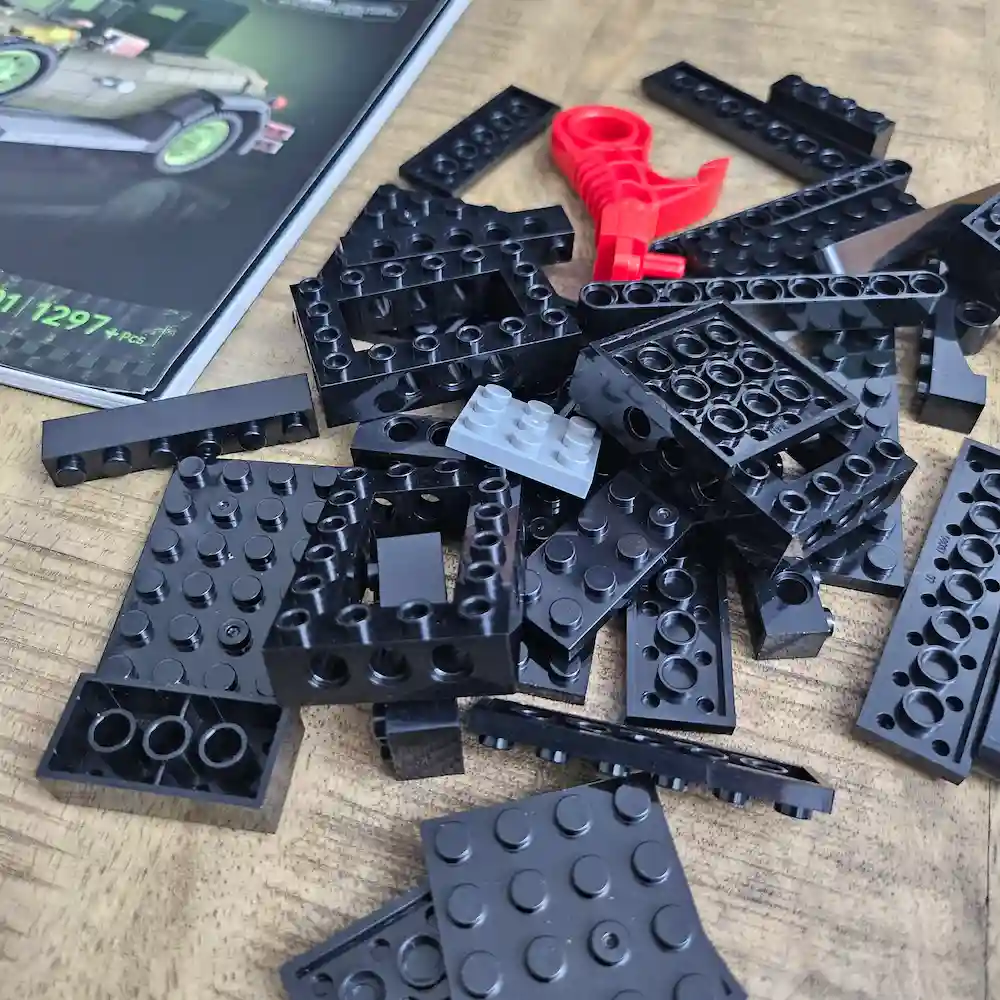
JMBricklayer 50001 Vintage Car Building From Scratch angelofdeathwhv 1
JMBricklayer 50001 Vintage Car Building From Scratch angelofdeathwhv 2
JMBricklayer 50001 Vintage Car Building From Scratch angelofdeathwhv 3
JMBricklayer 50001 Vintage Car Building From Scratch photo 4 taked by angelofdeathwhv
JMBricklayer 50001 Vintage Car Building From Scratch photo 5 taked by angelofdeathwhv
JMBricklayer 50001 Vintage Car Building From Scratch photo 6 taked by angelofdeathwhv
JMBricklayer 50001 Vintage Car Building From Scratch photo 7 taked by angelofdeathwhv
JMBricklayer 50001 Vintage Car Building From Scratch photo 8 taked by angelofdeathwhv

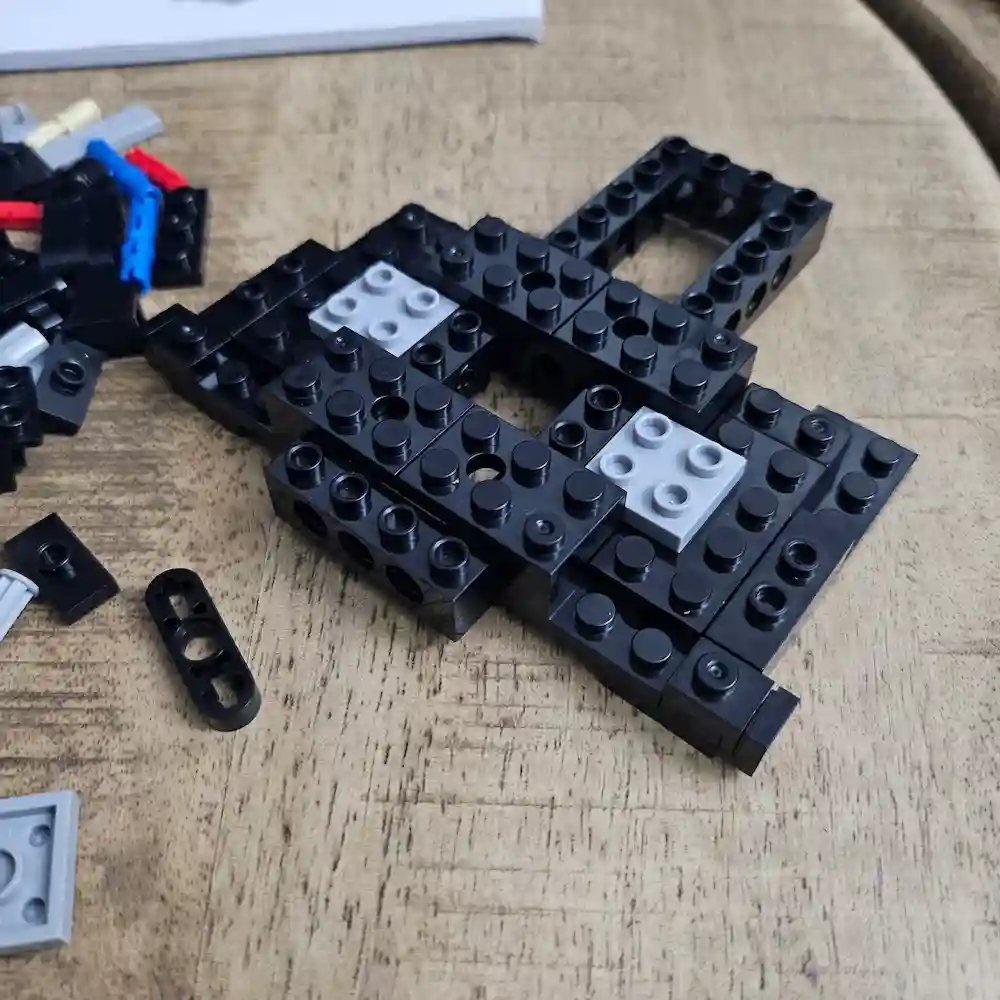
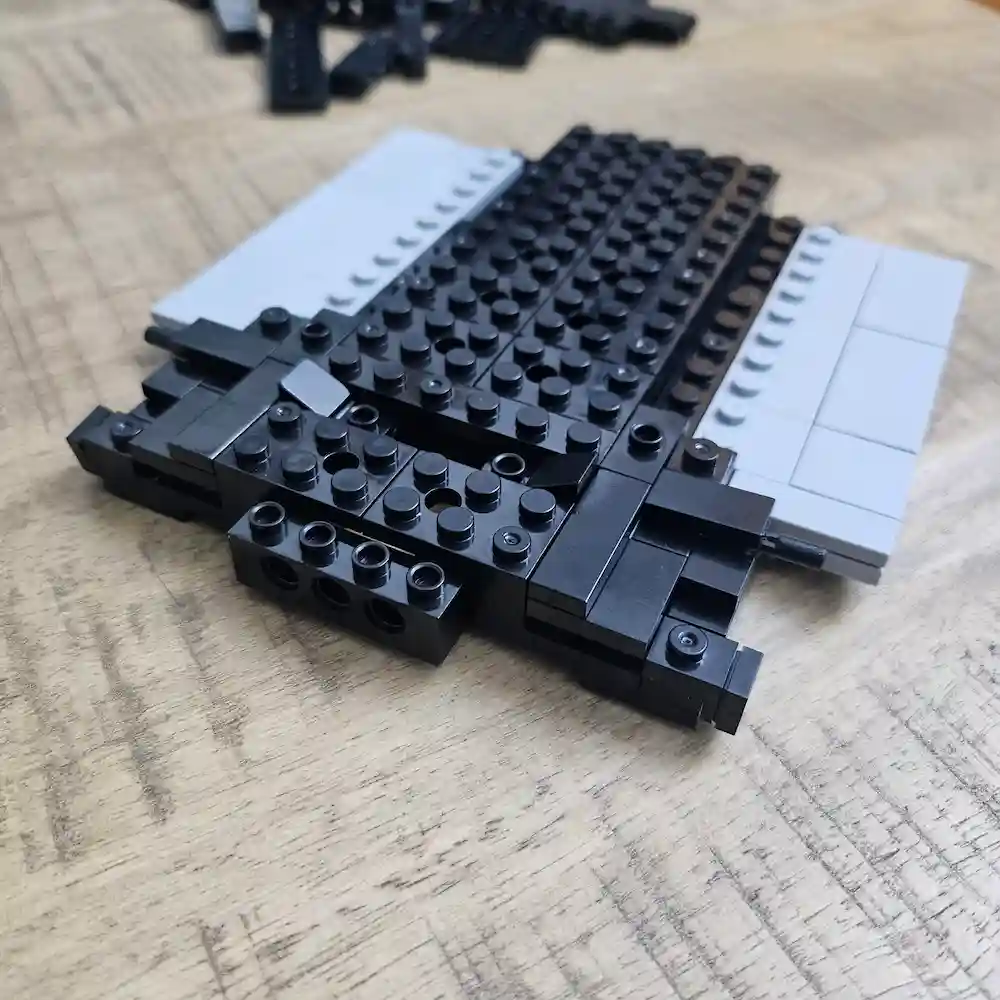
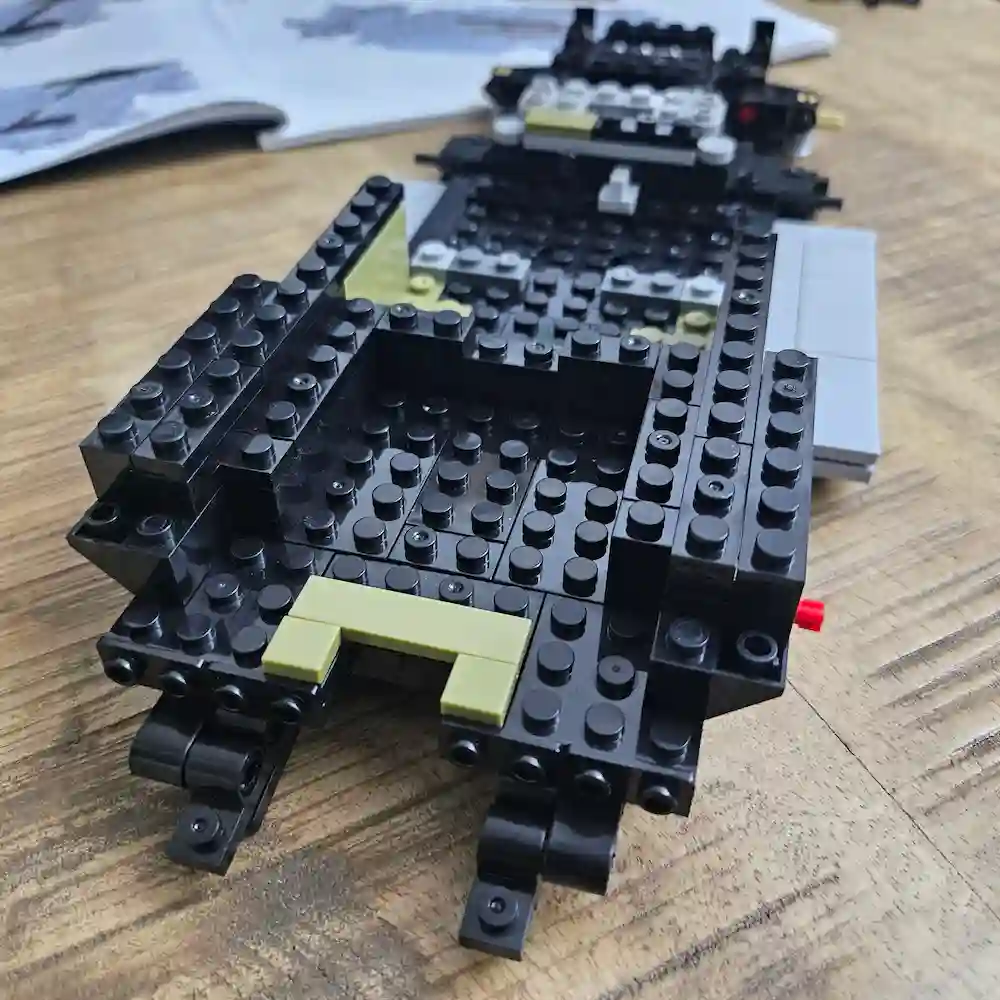
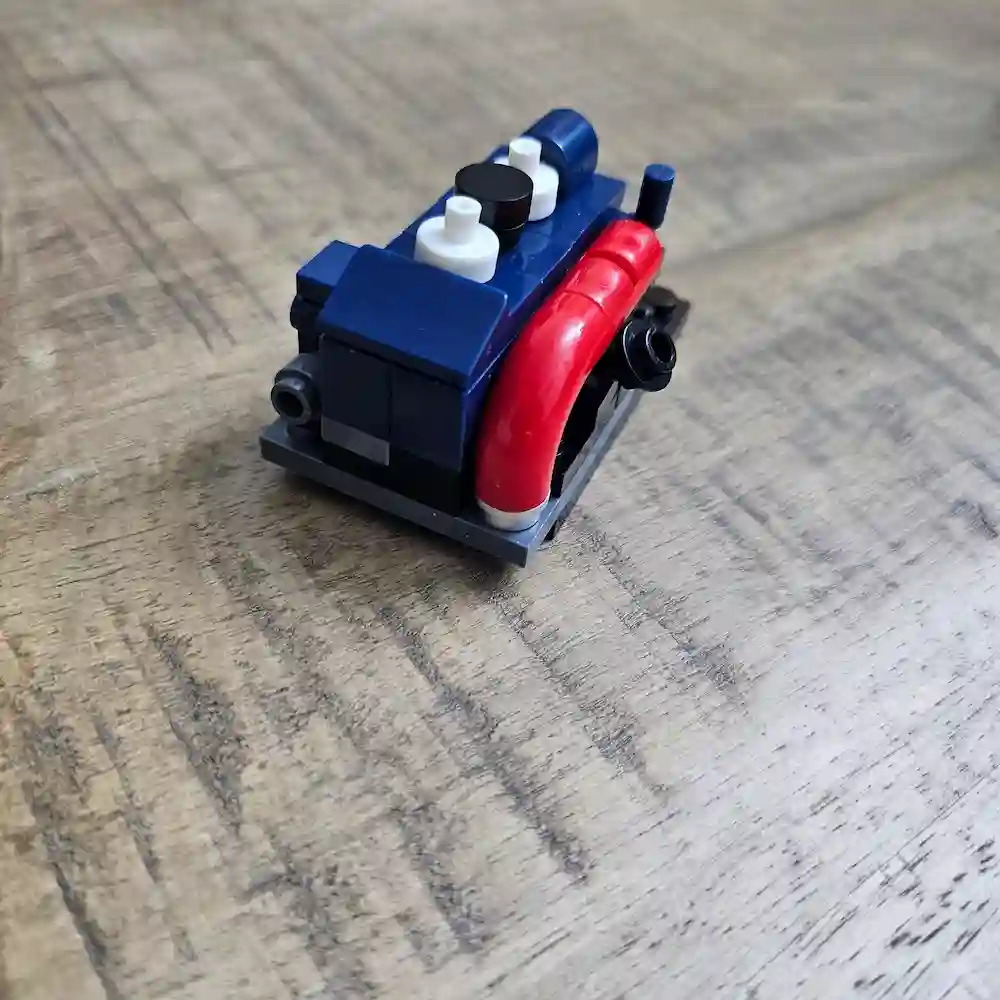
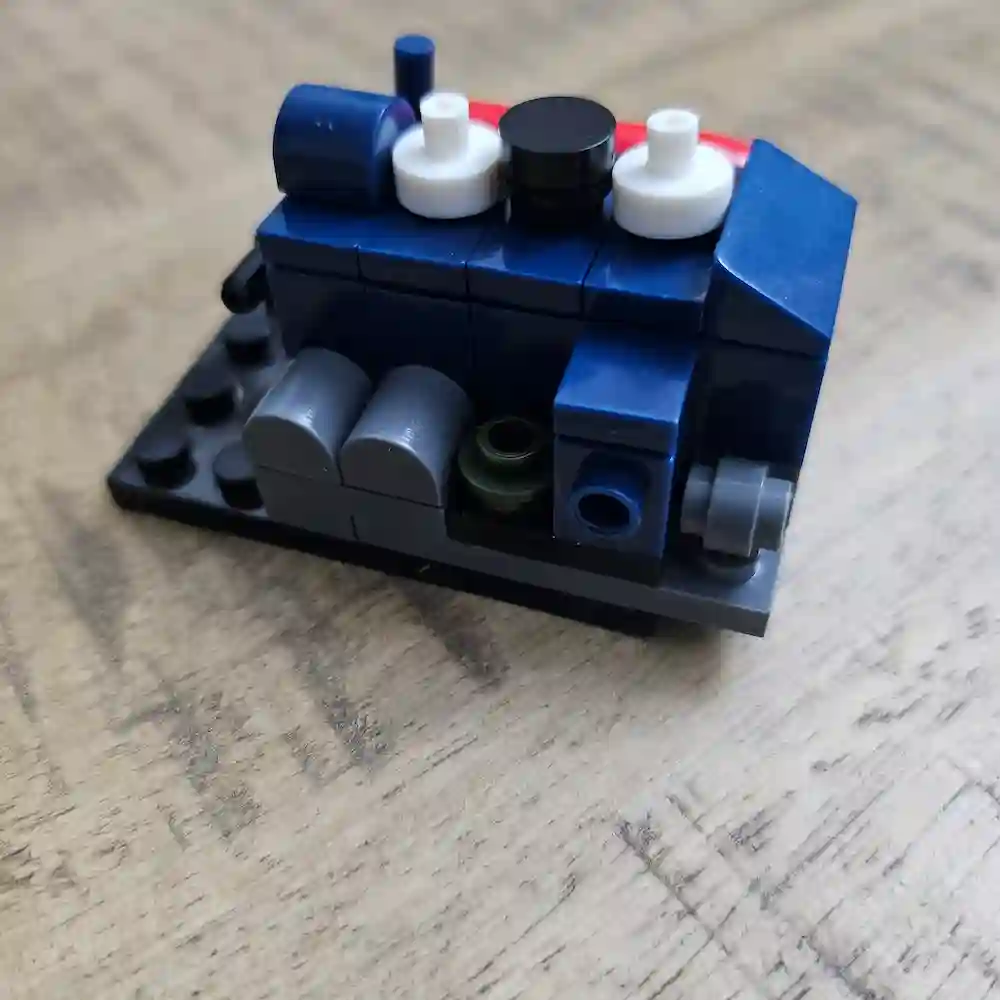
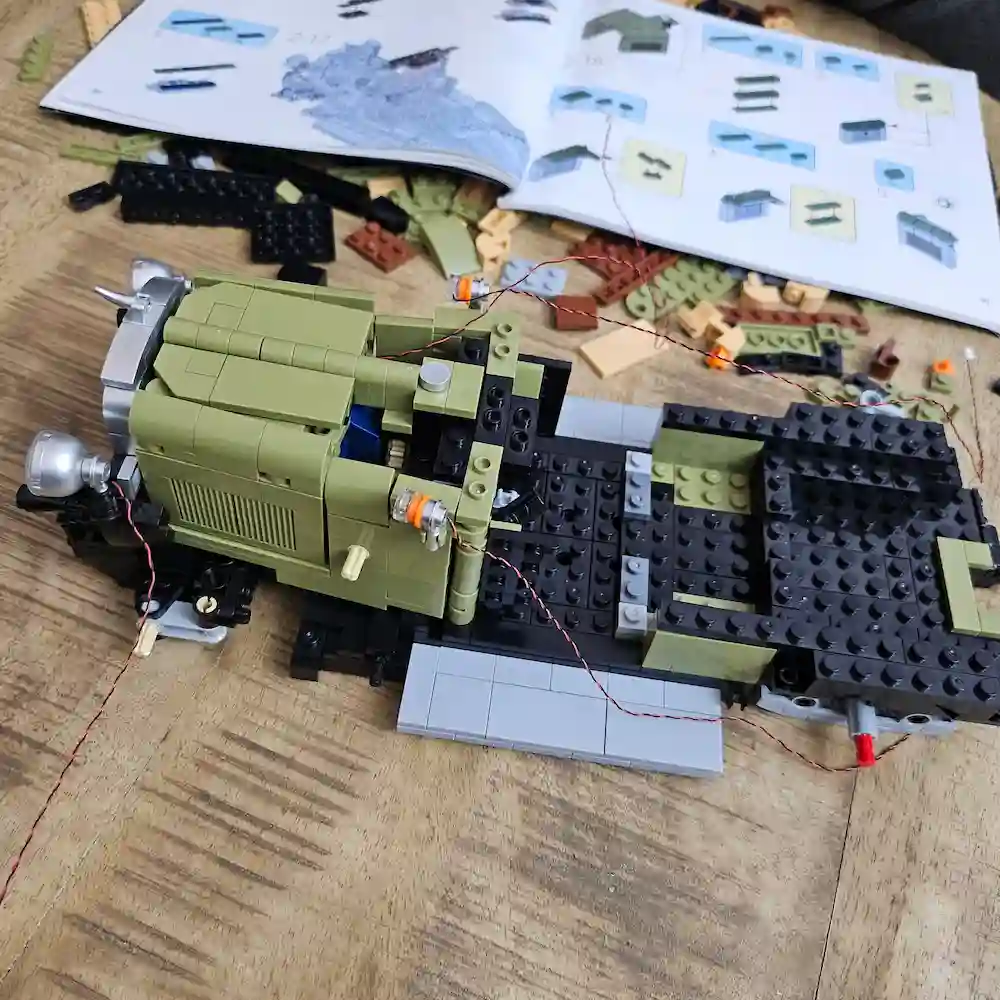
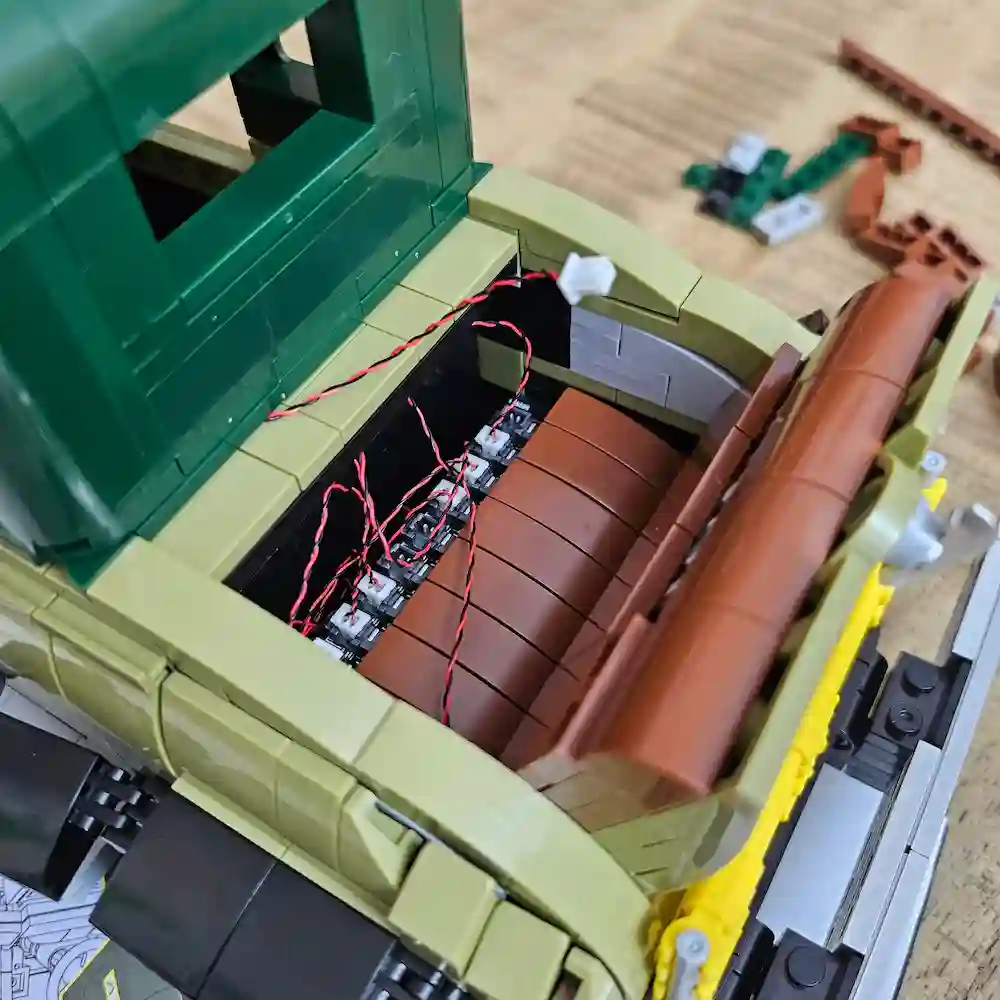
Once the chassis is assembled, you can admire the impressive length and stability of the model. Every piece fits securely, and the set offers a solid building experience. The instructions are easy to follow, allowing you to progress step by step without issues.

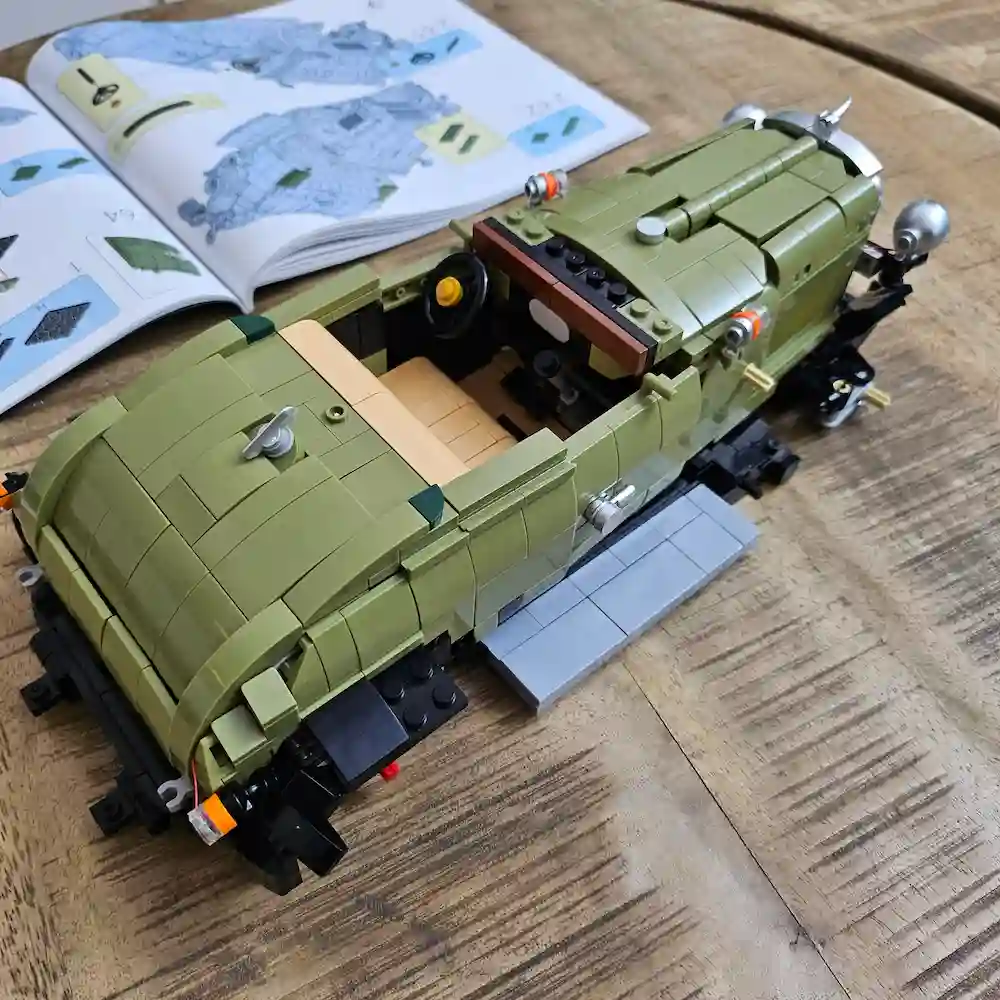
Building the Body
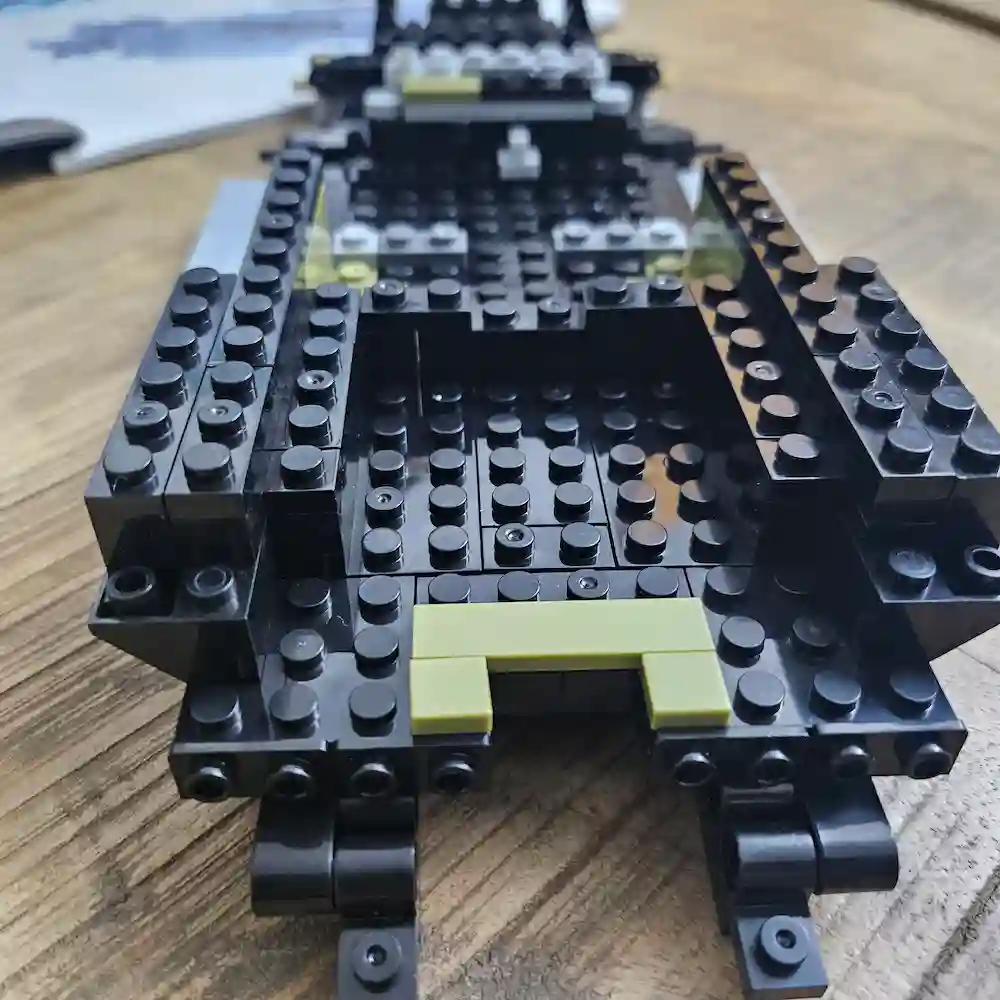
Building the body of the JMBricklayer 50001 Vintage Car photo 1 taked by angelofdeathwhv
Building the body of the JMBricklayer 50001 Vintage Car photo 2 taked by angelofdeathwhv
Building the body of the JMBricklayer 50001 Vintage Car photo 3 taked by angelofdeathwhv
Building the body of the JMBricklayer 50001 Vintage Car photo 4 taked by angelofdeathwhv
Building the body of the JMBricklayer 50001 Vintage Car photo 5 taked by angelofdeathwhv
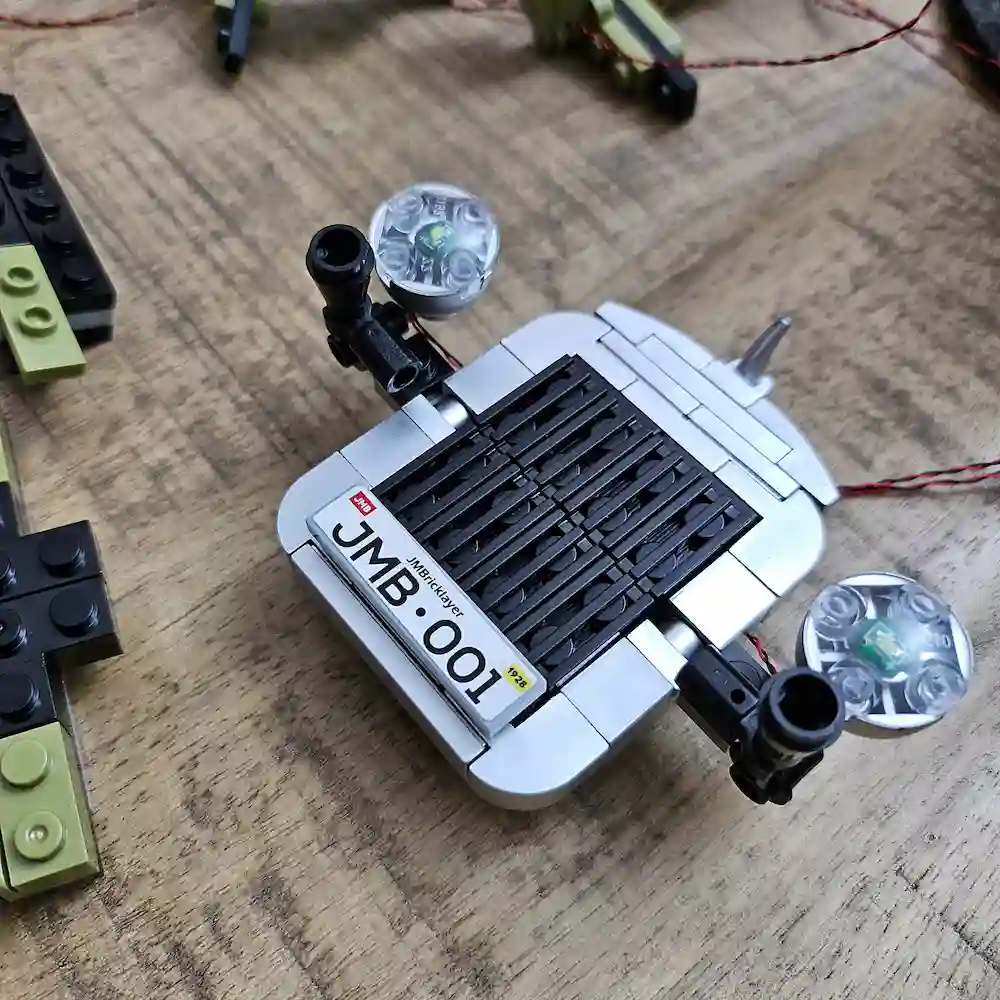
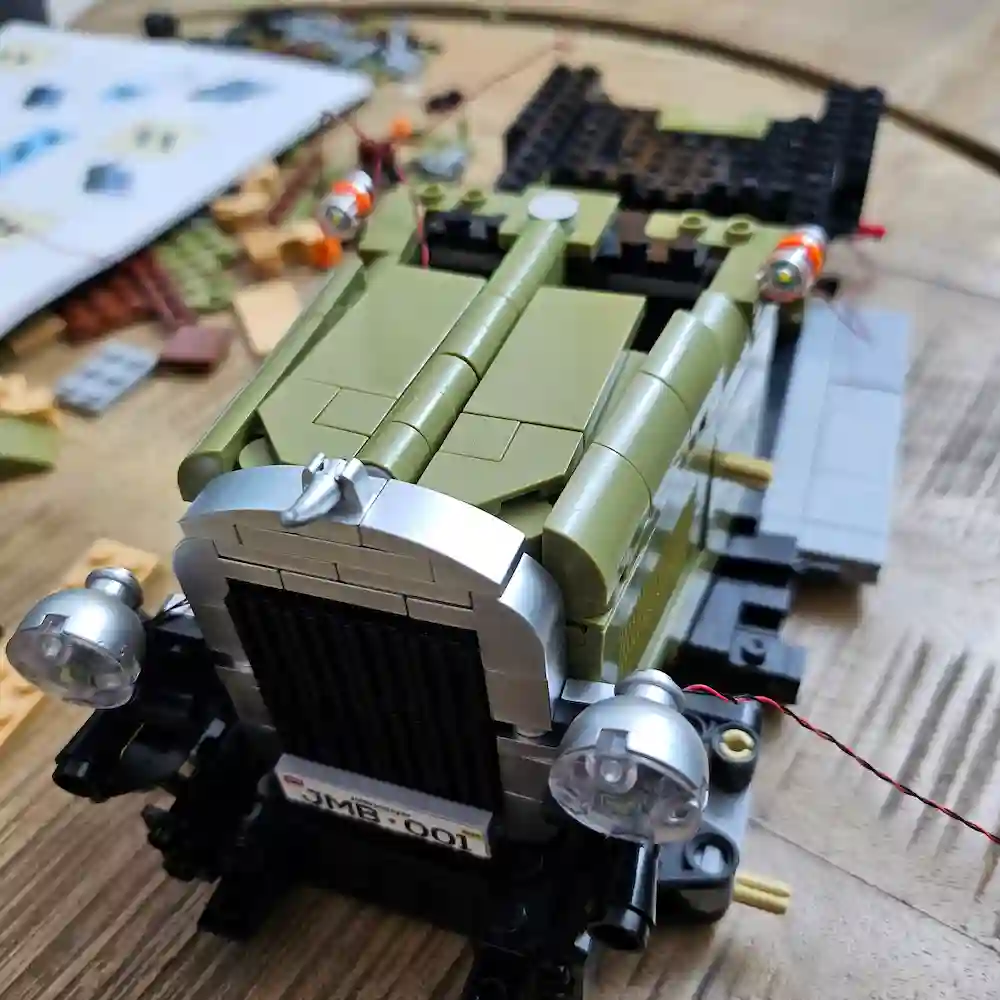
licence plate the JMBricklayer 50001 Vintage Car photo 1 taked by angelofdeathwhv

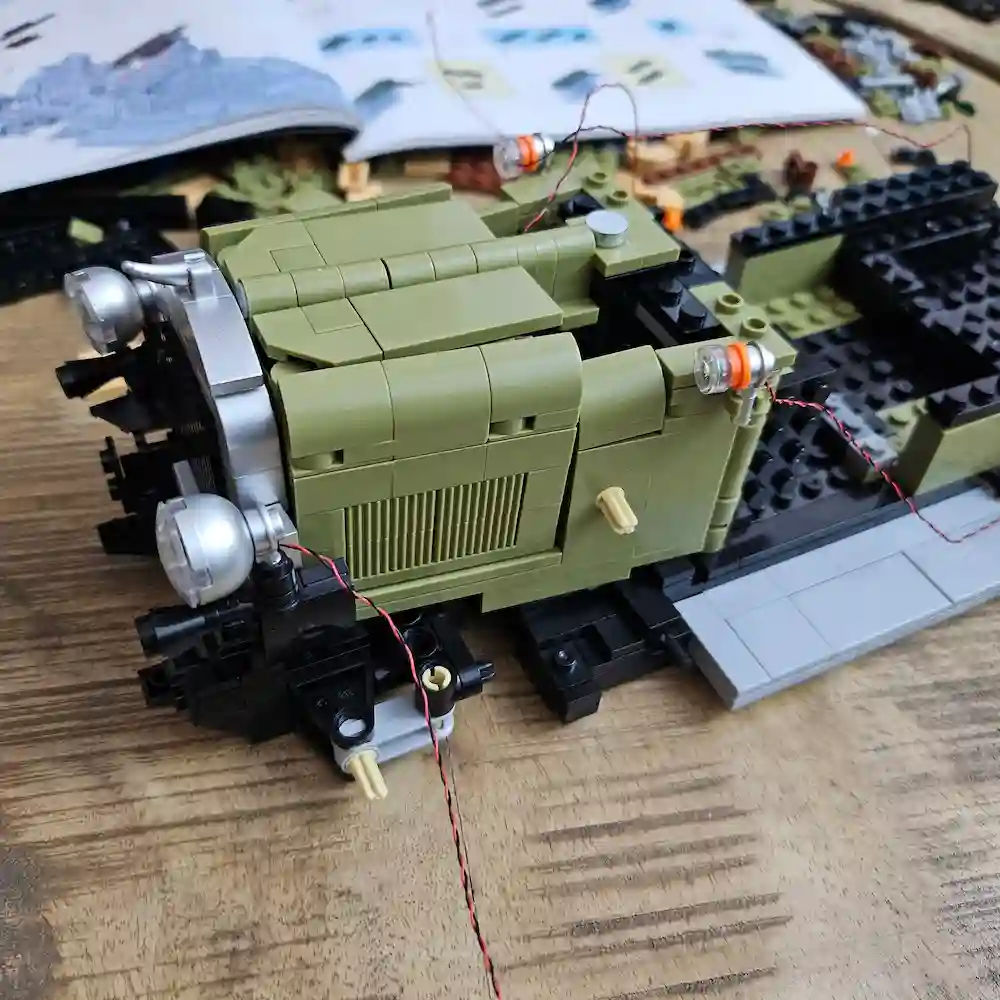
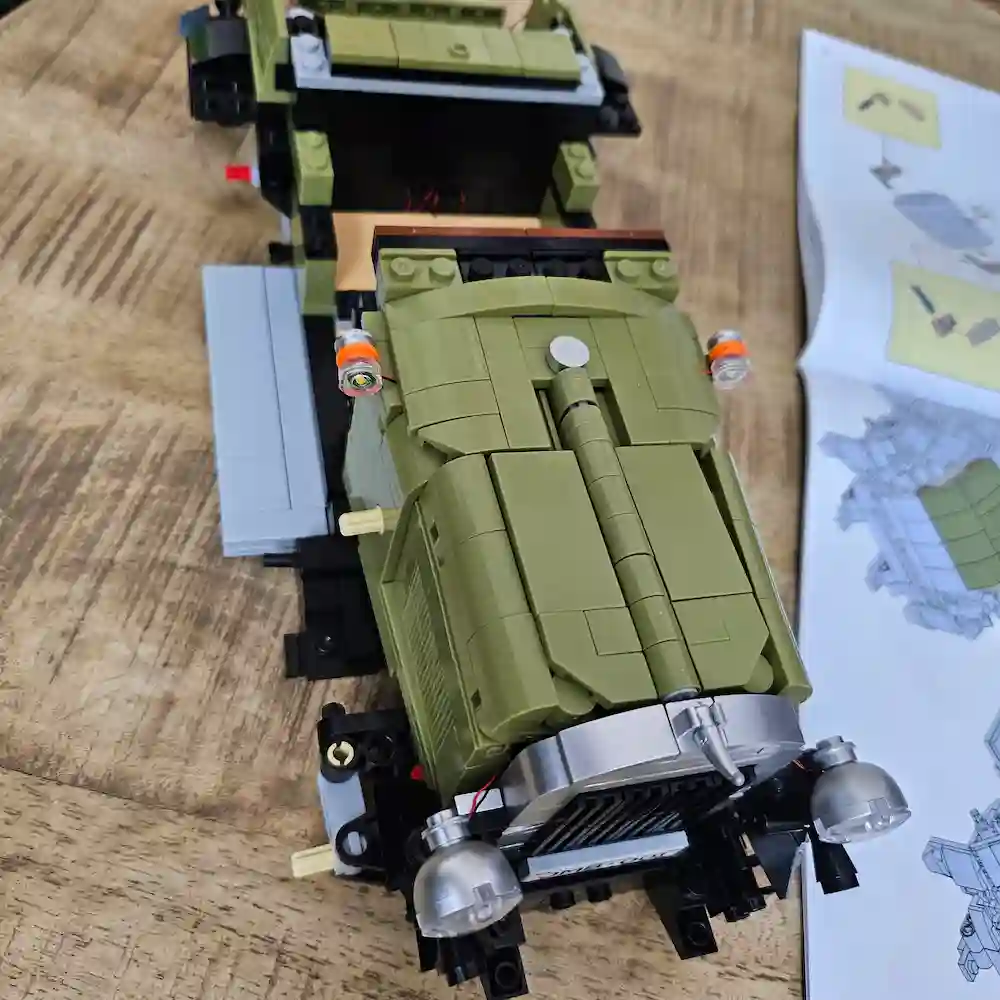
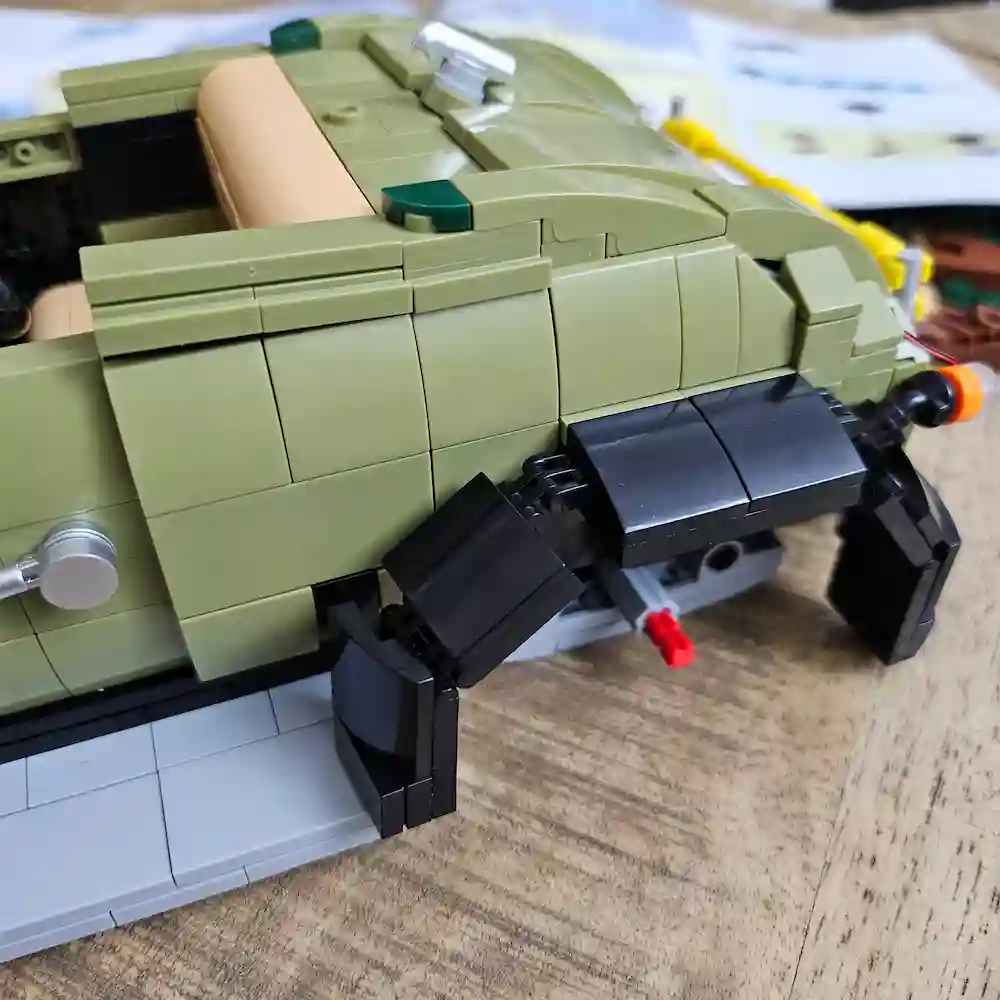
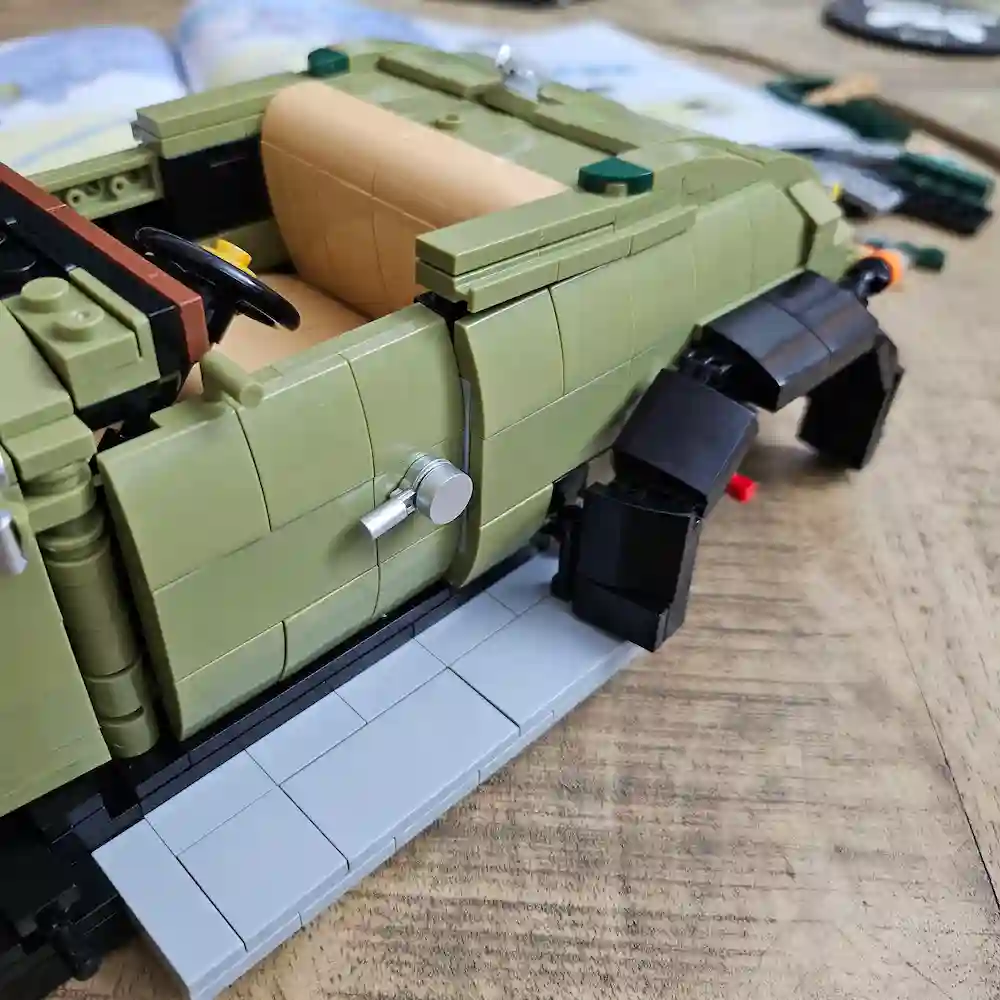
Building the body of the vintage car was a real highlight. Every part, from the curved fenders to the small door handles, is designed to closely resemble the real cars of that era. It’s so satisfying to watch the vintage car take shape and develop more character with each new piece.
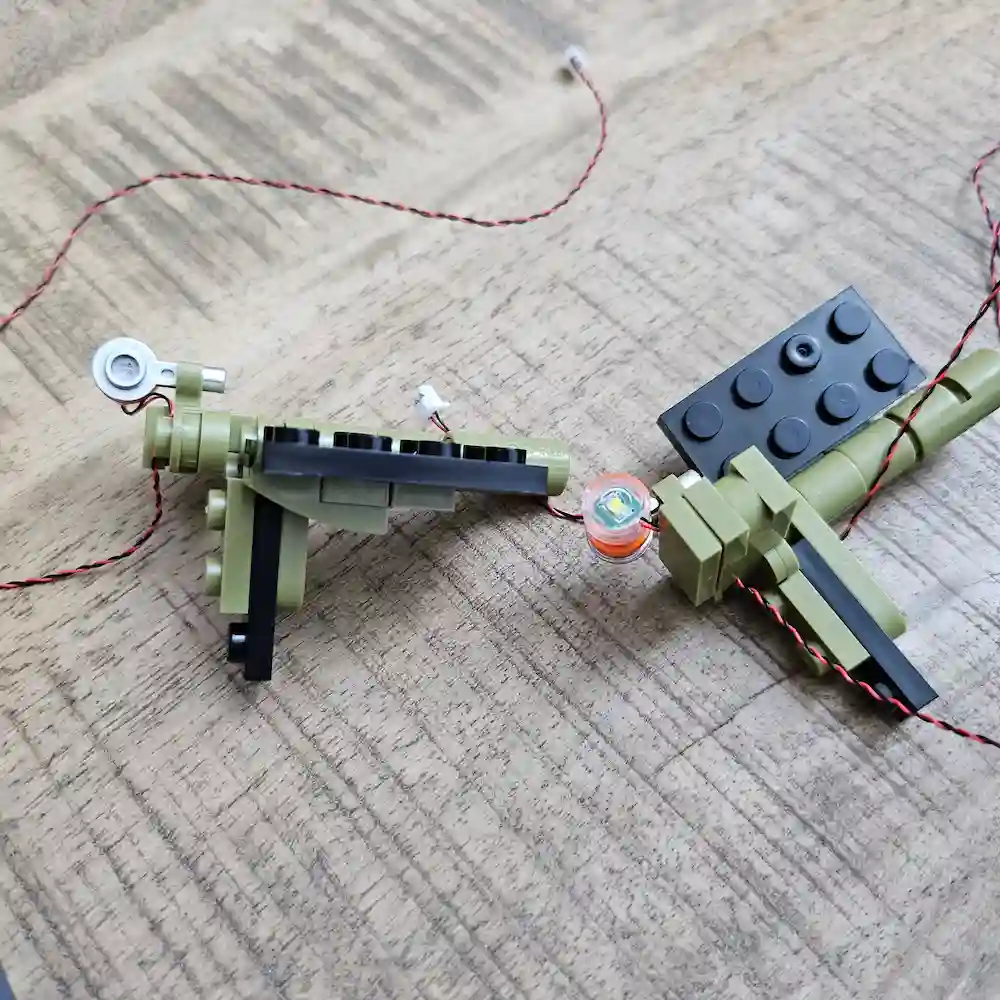
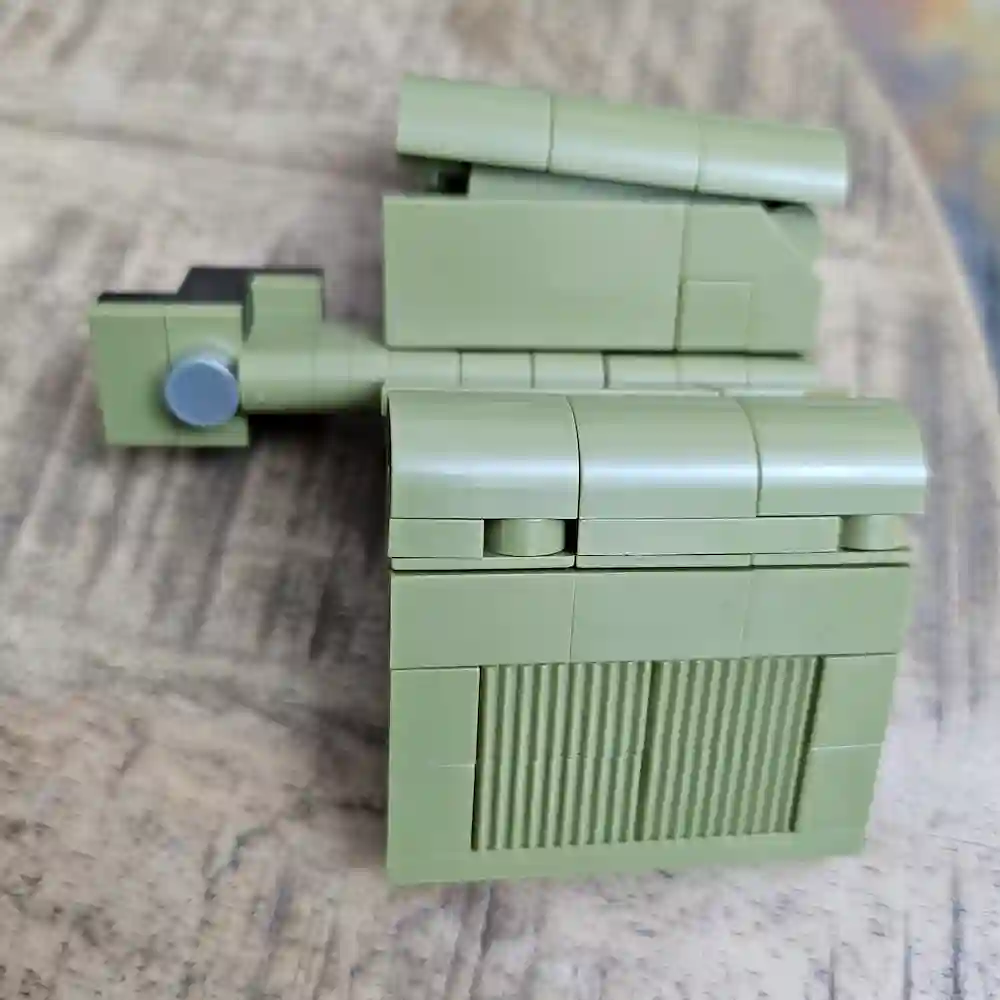
Building the body of the JMBricklayer 50001 Vintage Car photo 6 taked by angelofdeathwhv
Building the body of the JMBricklayer 50001 Vintage Car photo 7 taked by angelofdeathwhv
Building the headstock of the JMBricklayer 50001 Vintage Car photo 1 taked by angelofdeathwhv
Building the headstock of the JMBricklayer 50001 Vintage Car photo 2 taked by angelofdeathwhv
Building the body of the JMBricklayer 50001 Vintage Car photo 8 taked by angelofdeathwhv
Building the body of the JMBricklayer 50001 Vintage Car photo 9 taked by angelofdeathwhv
Building the body of the JMBricklayer 50001 Vintage Car photo 10 taked by angelofdeathwhv

The Interior

The interior really showcases the attention to detail. The steering area, seats, and dashboard aren’t just visually appealing but are finely crafted. I was surprised at how realistic the interior is, making the model even more impressive.
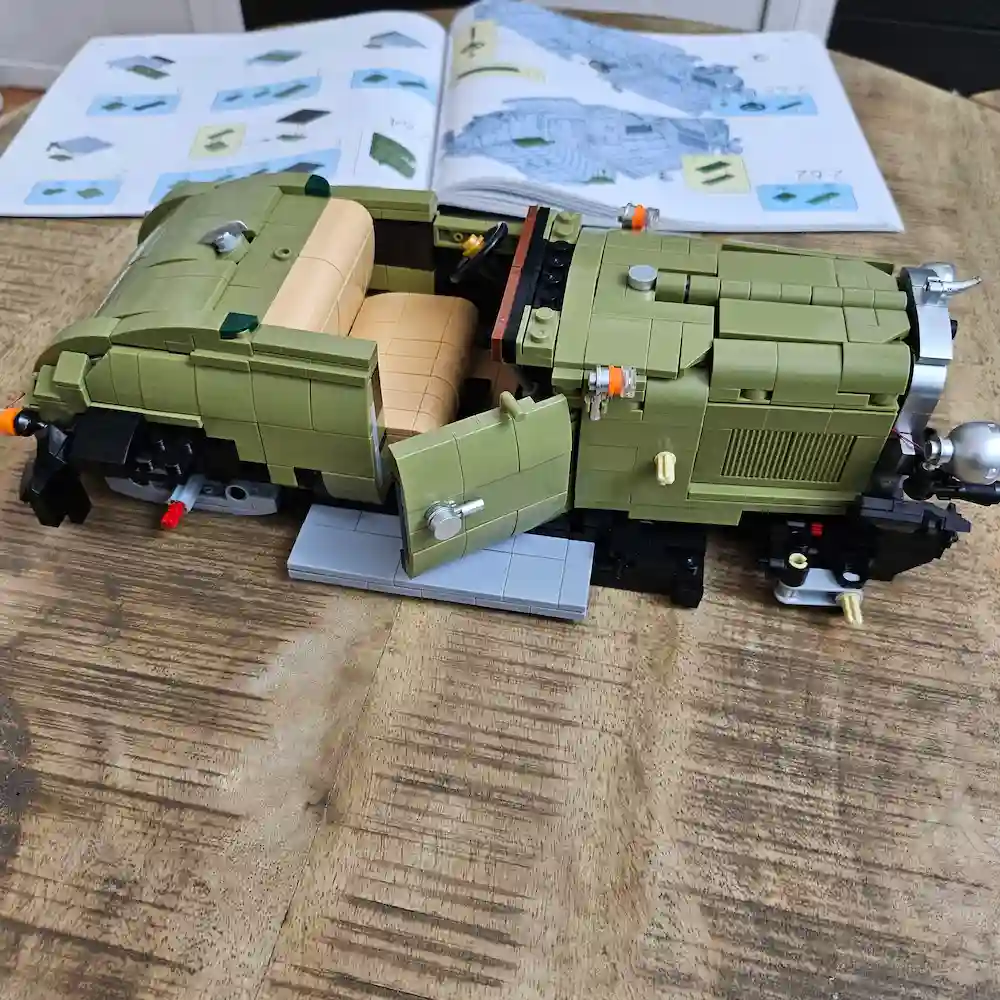
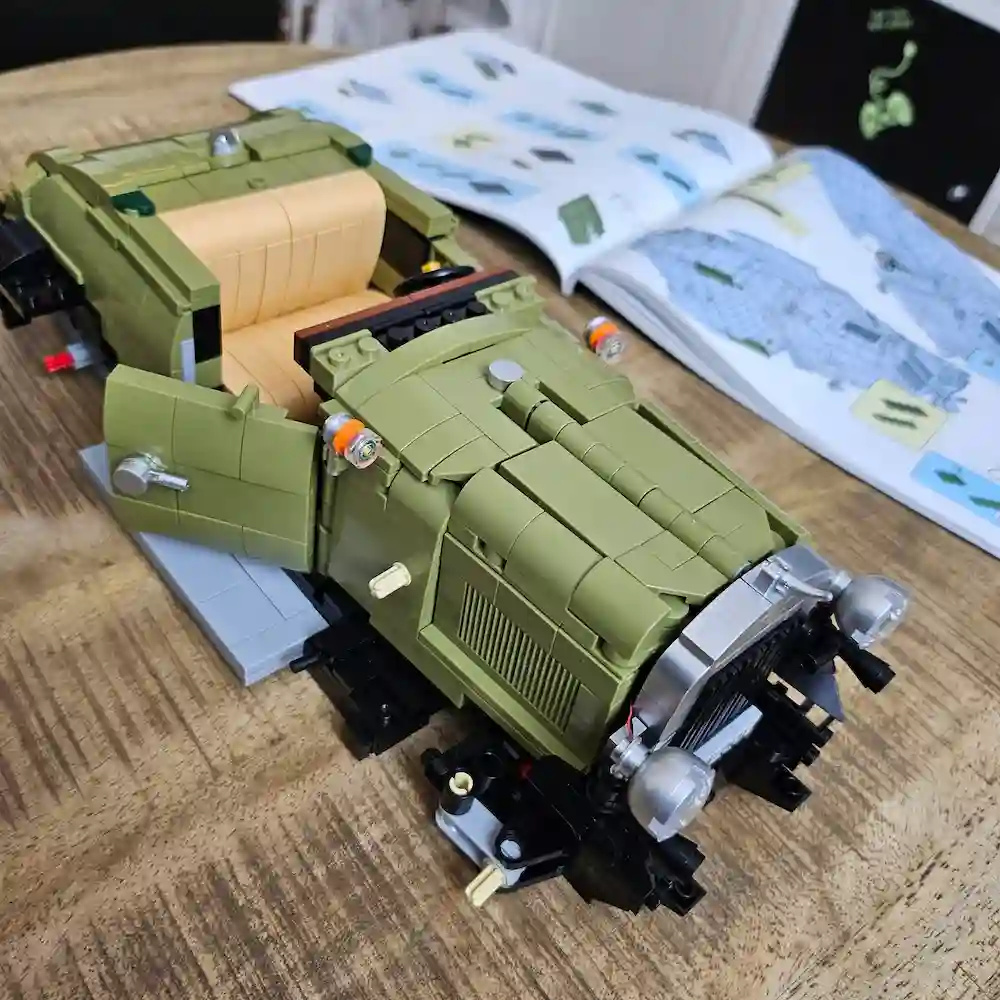
Building The Interior of the JMBricklayer 50001 Vintage Car photo 1 taked by angelofdeathwhv
Building The Interior of the JMBricklayer 50001 Vintage Car photo 2 taked by angelofdeathwhv
Building The Interior of the JMBricklayer 50001 Vintage Car photo 3 taked by angelofdeathwhv
Building The Interior of the JMBricklayer 50001 Vintage Car photo 4 taked by angelofdeathwhv
Building The Interior of the JMBricklayer 50001 Vintage Car photo 5 taked by angelofdeathwhv

The Details of the Assembled Block Set

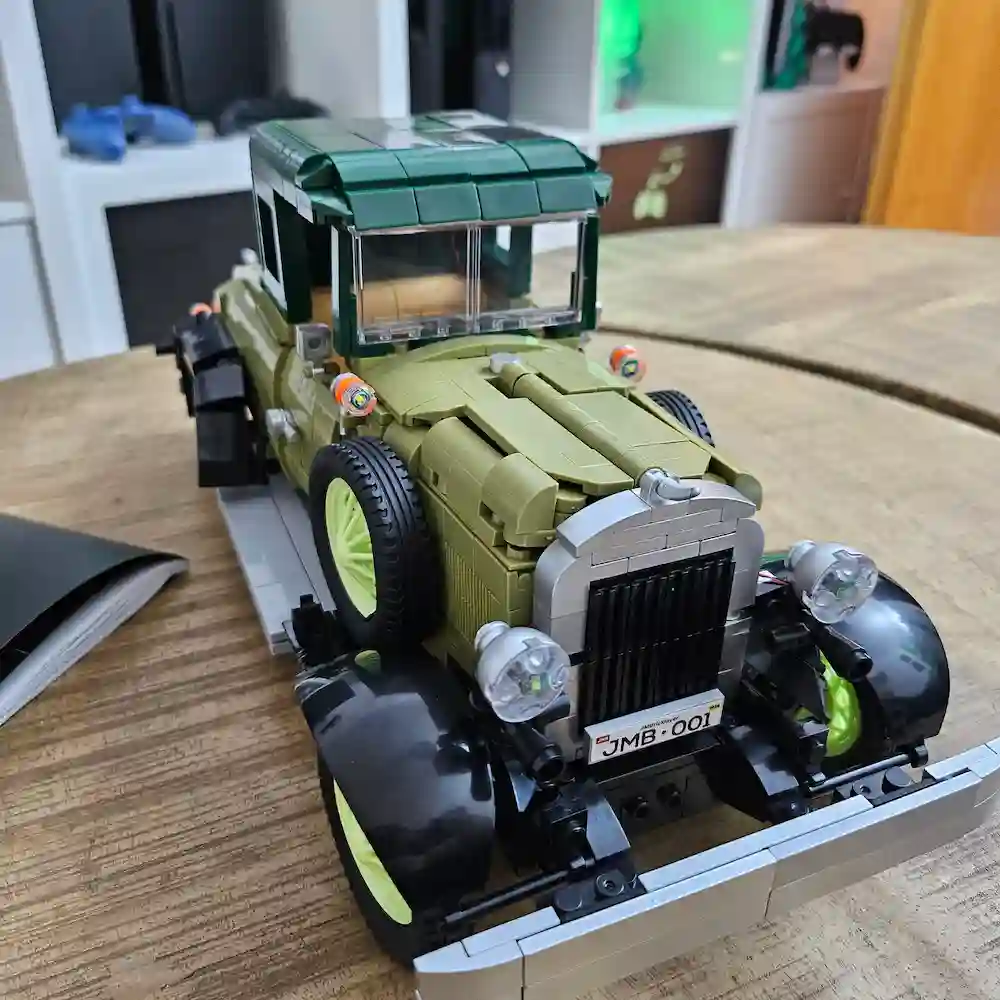
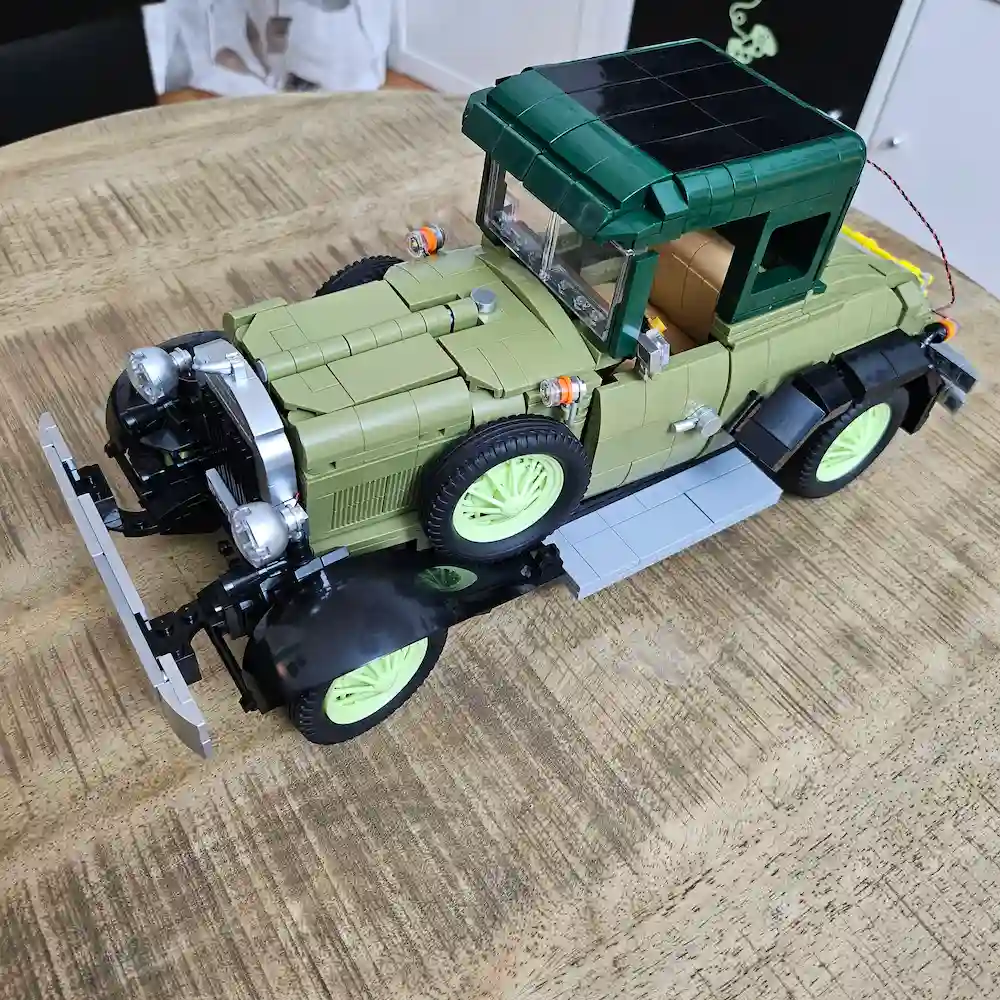
The final touch involves adding the details – the wheels, headlights, and small design elements that truly bring the vintage car to life. These finishing touches are especially satisfying, as you watch everything come together and see the model complete at last.
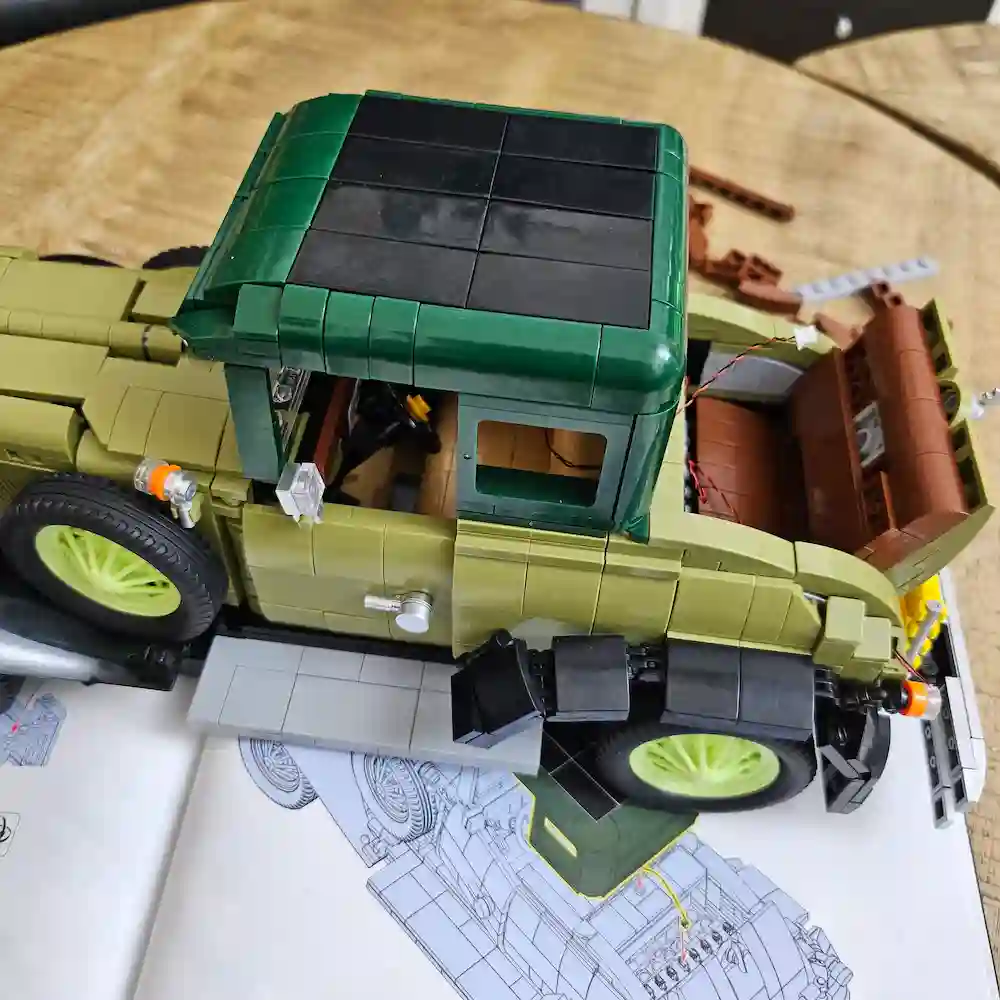
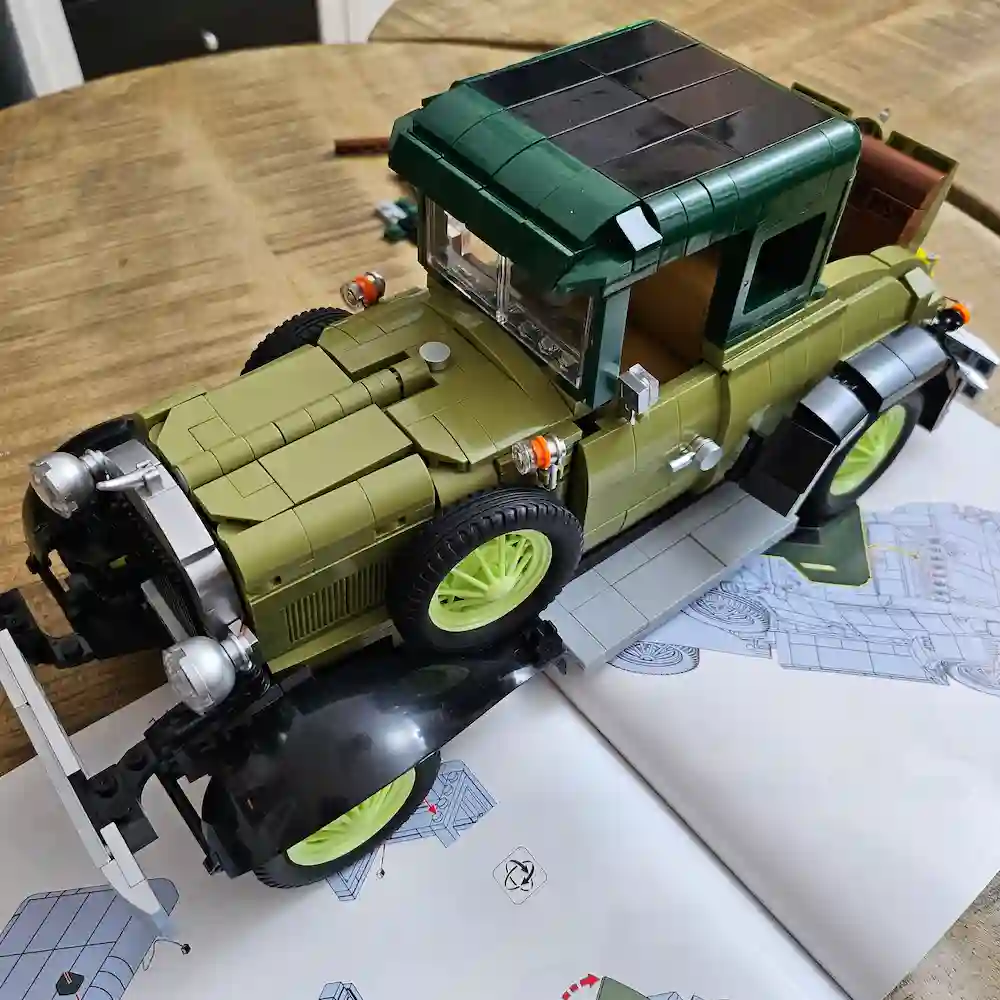
The Details of the Assembled JMBricklayer 50001 Vintage Car photo 1 taked by angelofdeathwhv
The Details of the Assembled JMBricklayer 50001 Vintage Car photo 2 taked by angelofdeathwhv
The trunk of the Assembled JMBricklayer 50001 Vintage Car photo 3 taked by angelofdeathwhv
The headlight of the Assembled JMBricklayer 50001 Vintage Car photo 1 taked by angelofdeathwhv

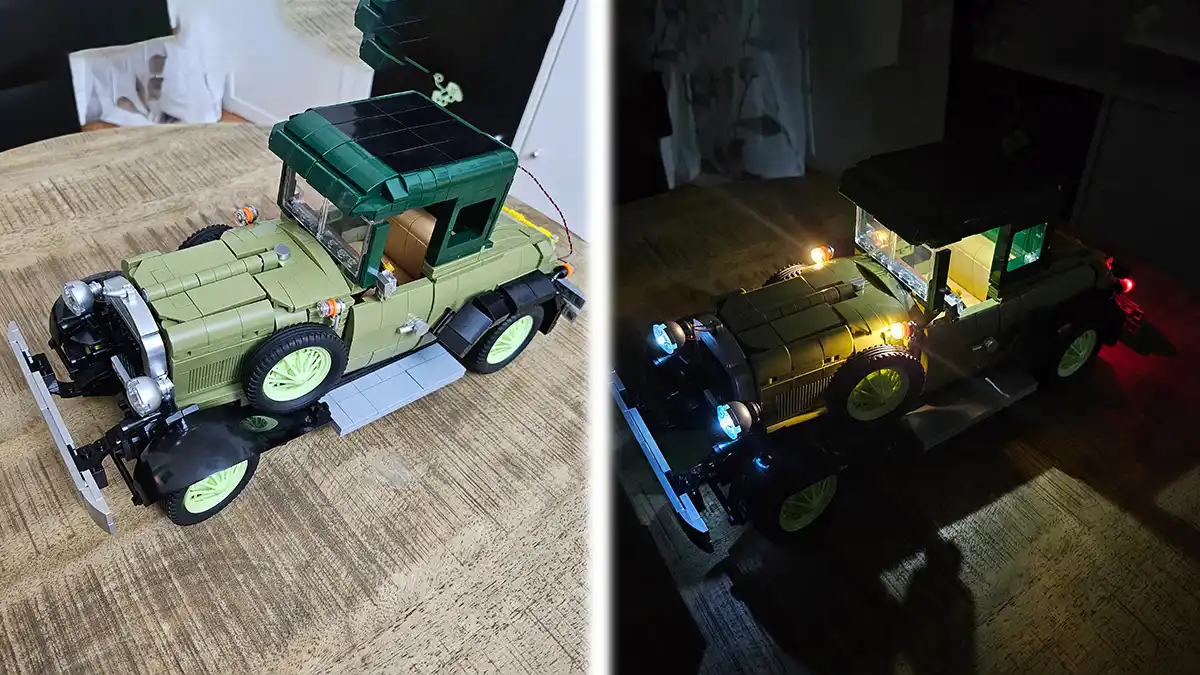
The final result is simply stunning. The vintage car isn’t just a toy, but a true collector’s item you’ll be proud to display. It’s especially striking when lit up. I had so much fun finishing this project, and I’m already looking forward to my next JMBricklayer set!
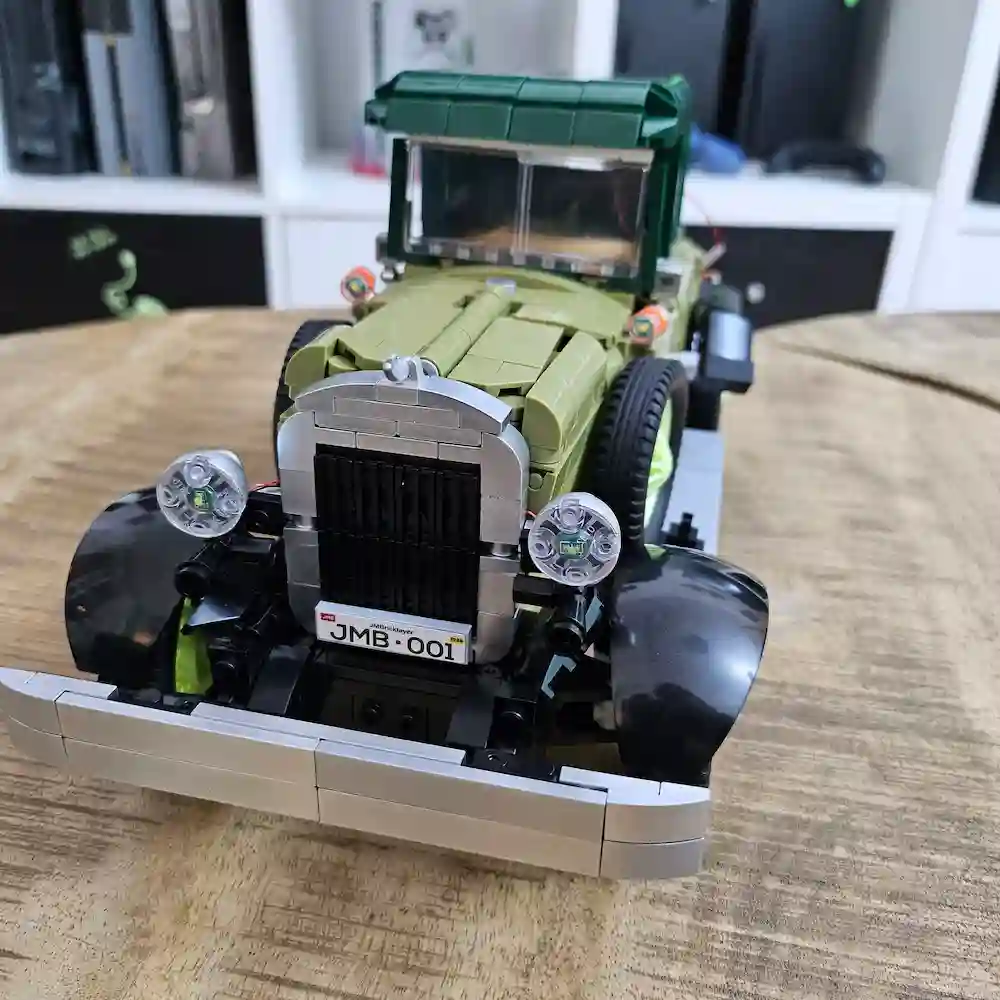
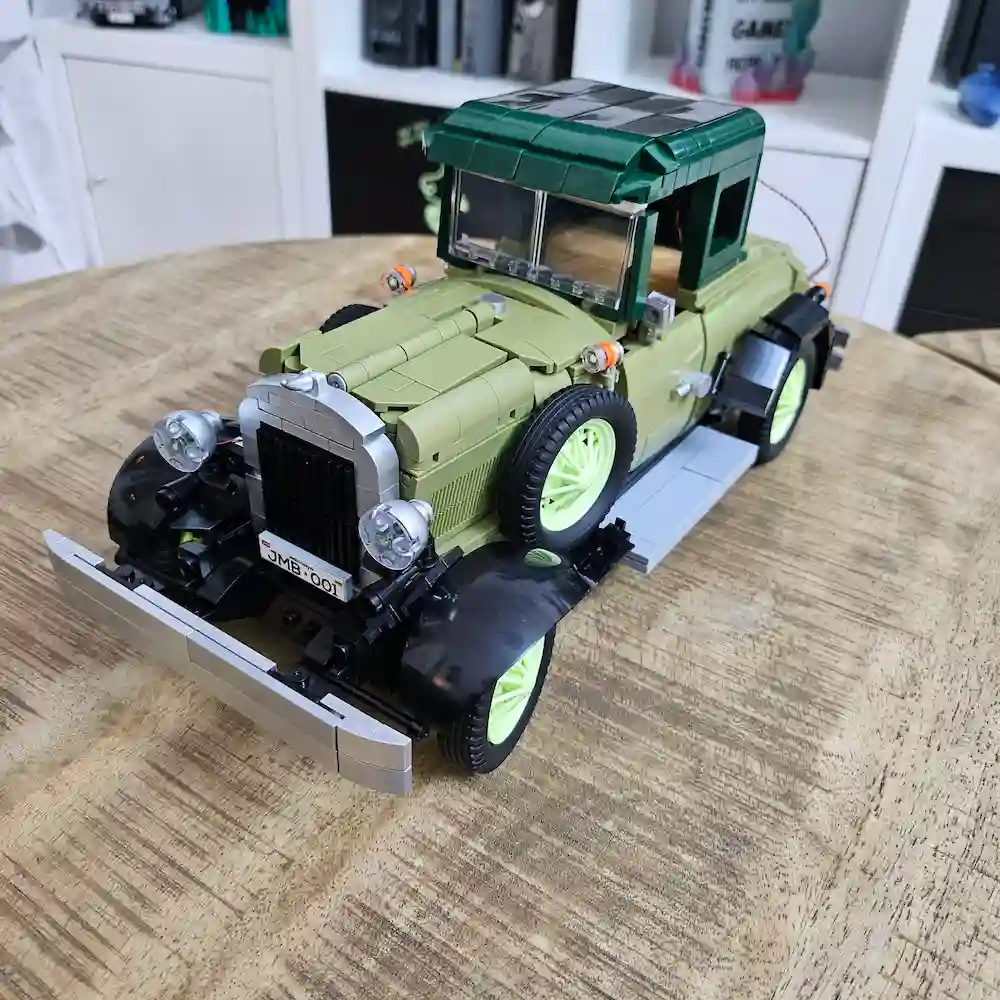
The Details of the Assembled JMBricklayer 50001 Vintage Car photo 4 taked by angelofdeathwhv
The Details of the Assembled JMBricklayer 50001 Vintage Car photo 5 taked by angelofdeathwhv
The Details of the Assembled JMBricklayer 50001 Vintage Car photo 6 taked by angelofdeathwhv

The Lighting Effect

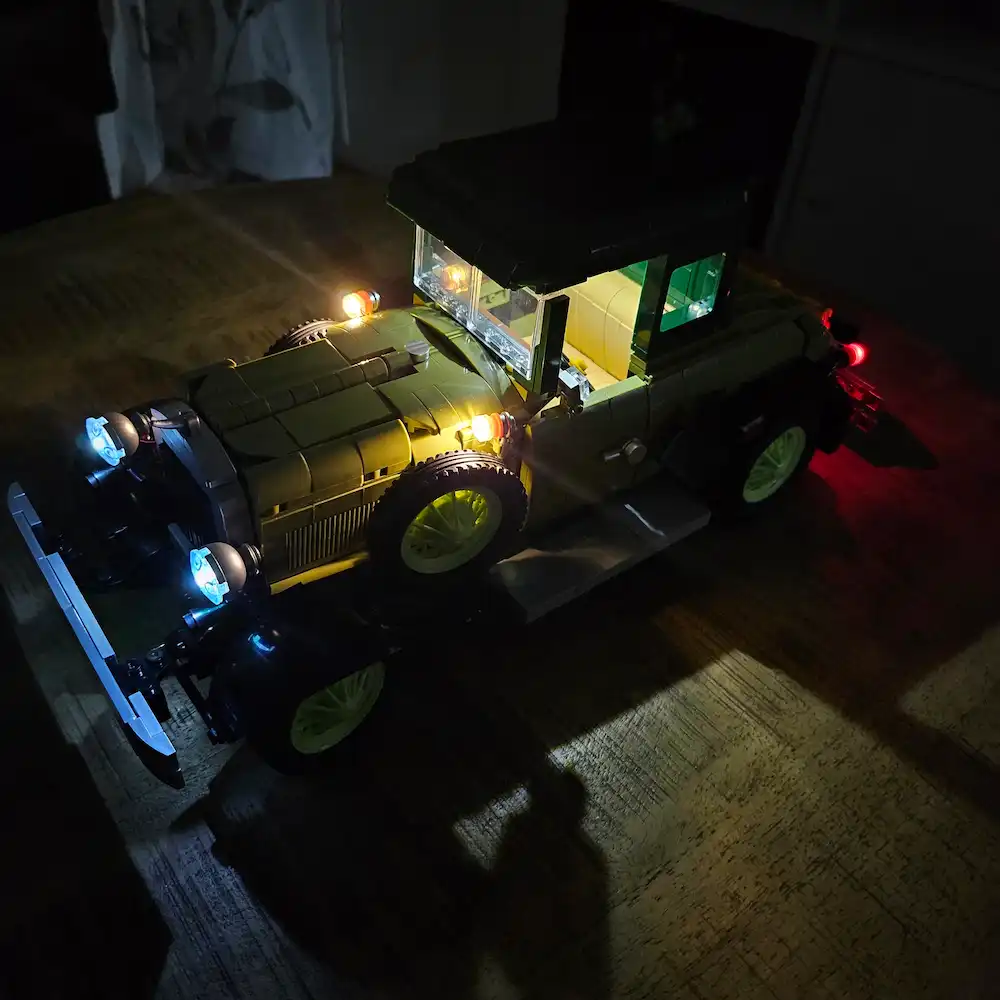
The lighitng effect of the Assembled JMBricklayer 50001 Vintage Car photo 1 taked by angelofdeathwhv

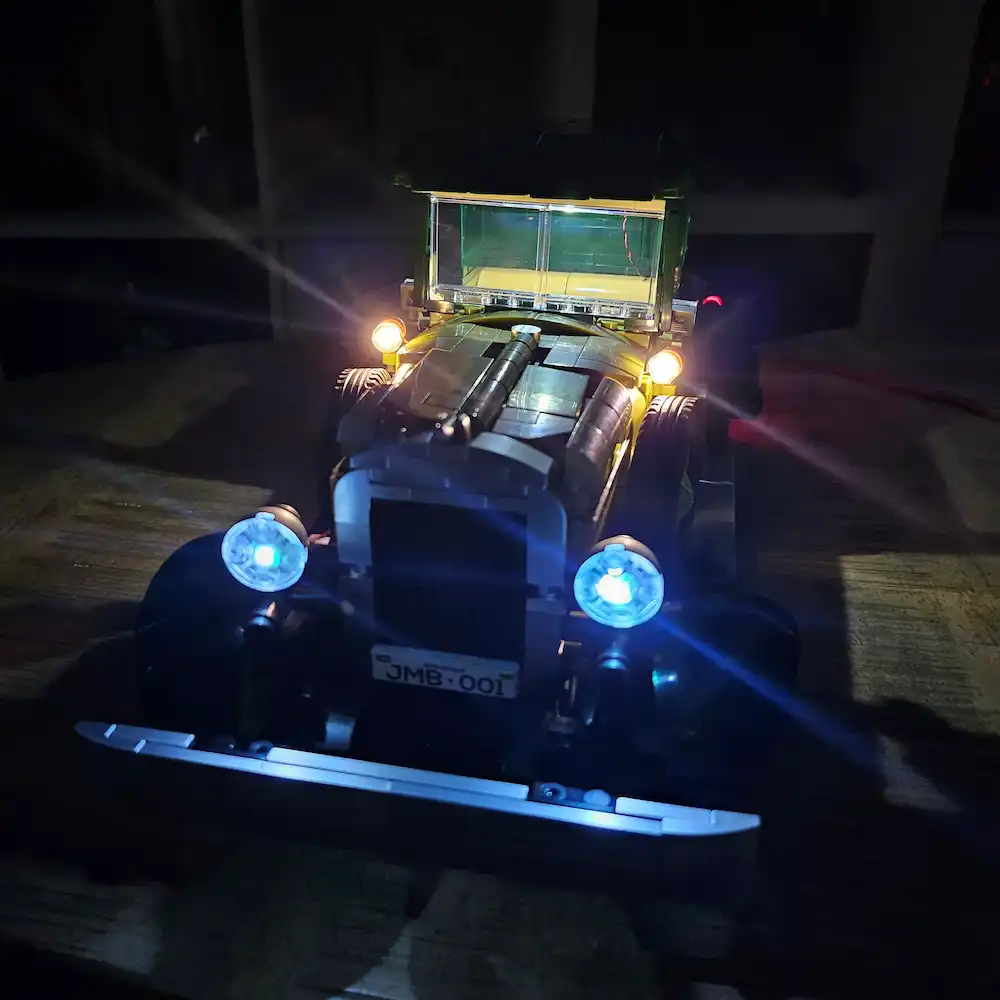
A major highlight is the integrated lighting system. It makes the vintage car truly shine, bringing out all the retro details. Installing the lights was easier than expected and gives the model that final polished look.
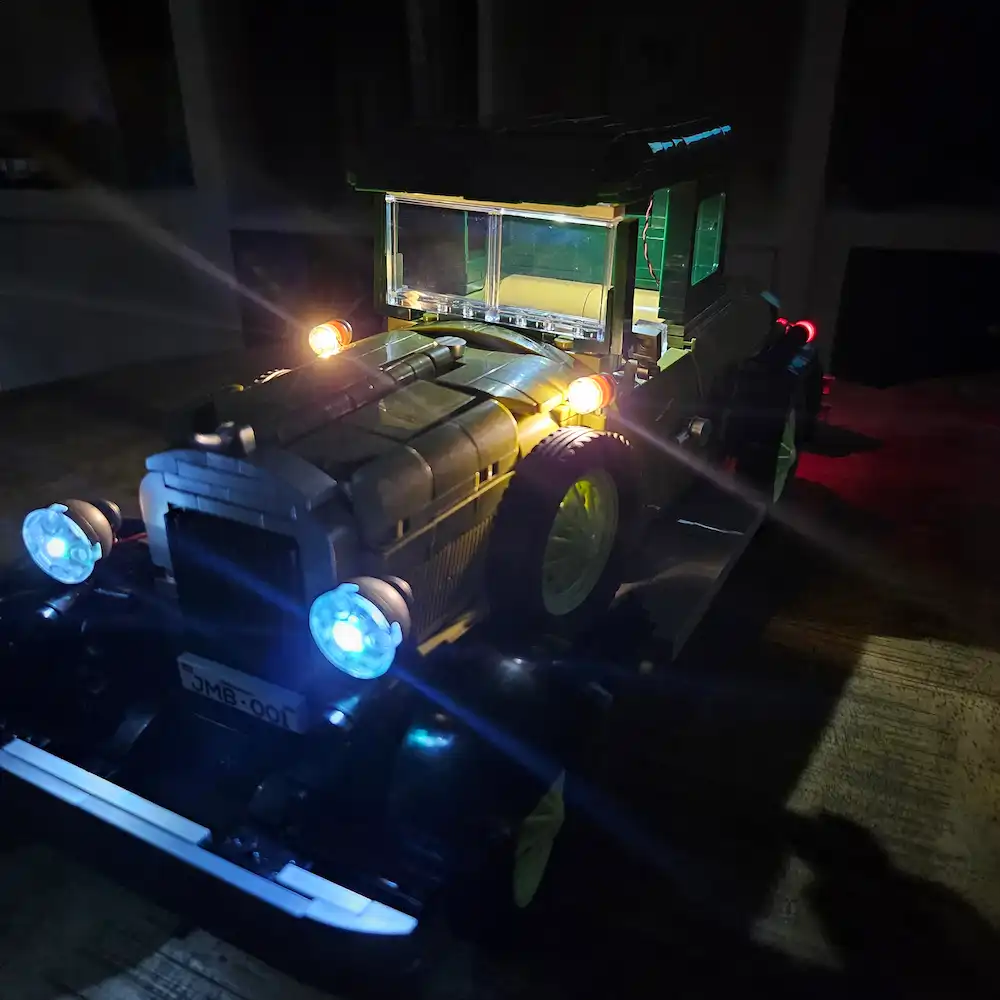
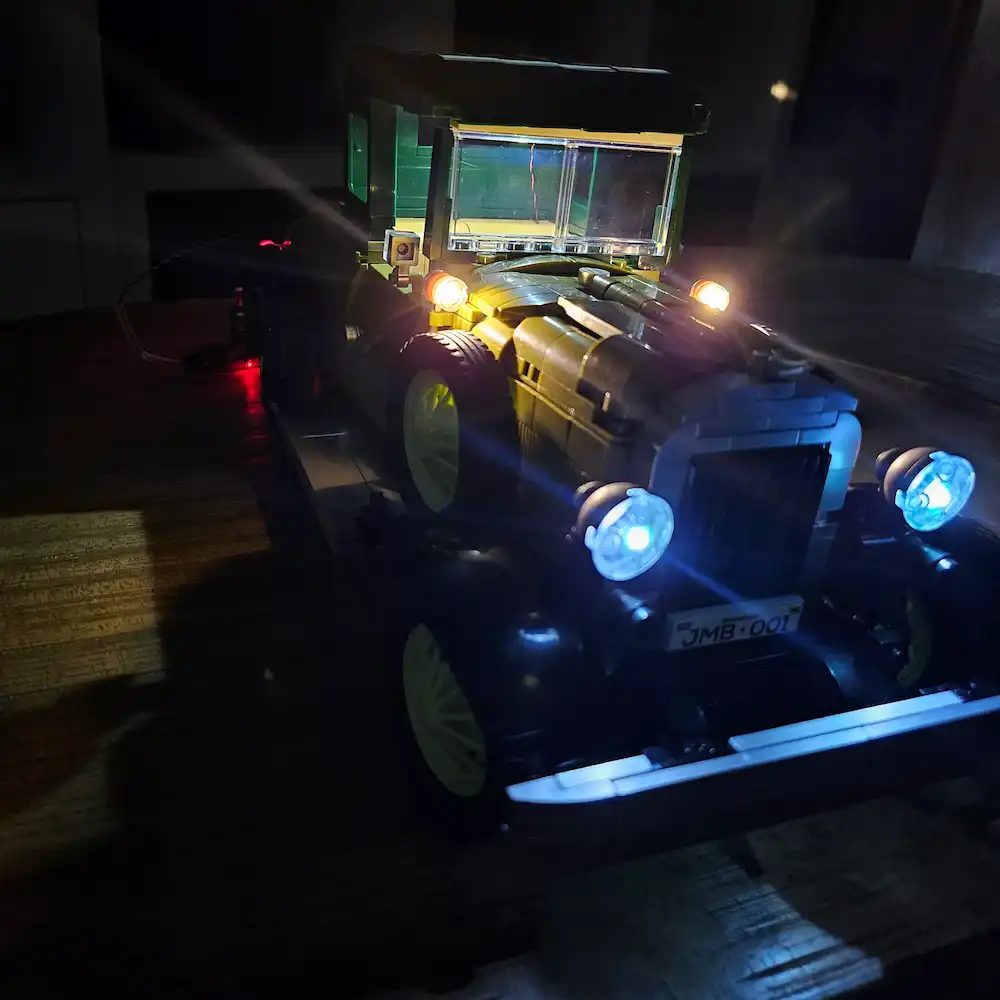
The lighitng effect of the Assembled JMBricklayer 50001 Vintage Car photo 2 taked by angelofdeathwhv
The lighitng effect of the Assembled JMBricklayer 50001 Vintage Car photo 3 taked by angelofdeathwhv
The lighitng effect of the Assembled JMBricklayer 50001 Vintage Car photo 4 taked by angelofdeathwhv

One tip: Take your time and enjoy the process. This build is definitely not something to rush through. Each step is worth doing carefully, especially if you want to install the lighting correctly. Patience really pays off here.

Showing The Process in Videos


I think these exquisite images and videos are incredibly detailed! I’m sure that after viewing them, you’ll be able to picture the JMBricklayer 50001 Vintage Car cruising down the road in vivid detail.

What do you think? Feel free to share your thoughts in the comments!

5 1 vote
Article Rating
angel of death WHV
angel of death WHV

STOPP! - Enough scrolling! Follow the Angel of Death on her journey through hell. - But don’t forget the coins for the ferryman. After all, we need a way back :)
Gamerin since my childhood πŸ’š
Sina Eck | Xbox | Gamergirl | PS5 | Switch Lite | Lego Photography
YouTube: @angelofdeathWHV
Instagram: @angelofdeathwhv
TikTok: @angelofdeathwhv

Articles: 2
Subscribe
Notify of
guest
The comment form collects your name, email and content to allow us keep track of the comments placed on the website. Please read and accept our website Terms and Privacy Policy to post a comment.
0 Comments
Most Voted
Newest Oldest
Inline Feedbacks
View all comments
0
Would love your thoughts, click to comment.x
()
x